A neo traditional small butterfly tattoo was my first choice after I turned 30. I wanted something that would still read clearly years later. I had one week before my appointment, so I researched placement, line weight, color, and healing instead of saving random references. The result felt personal, crisp, and surprisingly empowering.
I also wanted to know whether the design would matter beyond its first day. A tattoo can look striking during an appointment and lose clarity later. I cared about healed structure, value, and long-term readability.
Before the Butterfly
Before the appointment, I had a patch of blank skin I’d been saving for the right idea. There was no faded outline and no old design to cover. My skin was simply empty, which made the choice feel permanent and meaningful.
I kept touching the area while I thought. You know that nervous habit, where your hand keeps checking the exact spot even though nothing’s there?
I wanted an open-wing butterfly with enough shape to feel symbolic. I didn’t want an enormous design controlling every outfit.
The first sketches looked delicate and almost too quiet. Then I compared them with stronger neo traditional references. The difference was immediate.
A small tattoo can feel fierce through a clean silhouette, deliberate color, and a few expressive details. That became my direction.
I wasn’t looking for the smallest possible tattoo. I wanted a personal design that wouldn’t blur into a tiny mark from a few steps away. That distinction mattered more than I expected!
My Reference Ladder
I called my decision process the Reference Ladder, a simple rule I made for myself. First, choose the motif.
Second, choose the shape. Third, choose the palette.
Only then should you look at decorative details.
My final color palette became plum, soft grey, rose gold, and black. Limiting the colors gave the design a bold identity without making it look busy. It also helped me judge whether the quote offered real value.
I compared fresh examples with healed tattoo work. Your reference folder should include work that has settled, not only crisp appointment-day examples. That was one of the most useful things I did before booking.
- I Researched Neo Traditional Small Butterfly Tattoo Ideas
- I Saved Unique Butterfly Tattoo Reference Sketches
- I Chose Crimson Wings and Gold Accents
- I Selected a Crisp Ornamental Linework Style
- I Positioned the Butterfly Above My Ankle
- I Checked the Stencil Against My Skin
- I Sat Through the Sharpest Needle Passes
- I Watched the Vibrant Butterfly Take Shape
- I Followed My Delicate Tattoo Healing Routine
- I Added One Tiny Wing Detail Later
- I Carried Its Symbolic Meaning Every Day
1I Researched Neo Traditional Small Butterfly Tattoo Ideas

I started with the silhouette because you’ll notice that before anything else. My favorite reference had symmetrical wings, a compact body, and rounded shapes.
The butterfly felt iconic without becoming childish. I saved it beside a neo traditional butterfly design with heavier outlines.
The colors changed my mind next. I first considered all black, but terracotta and muted olive examples looked more expressive against skin.
You don’t need ten shades to make a butterfly memorable. Terracotta, olive, and black can create an ornate result when the artist understands contrast.
I returned to my Reference Ladder whenever I felt distracted. First, choose the motif.
Second, choose the shape. Third, choose the palette.
Only then should you look at details. It kept me from copying a random design just because it looked striking on a screen.
I checked how the style appeared on real skin, not only polished fresh examples. Your reference folder should include healed work whenever possible. I also compared it with traditional small butterfly tattoo ideas because the older style made the heavier outline easier to understand.
2I Saved Unique Butterfly Tattoo Reference Sketches

I saved reference sketches rather than collecting finished tattoos alone.
3I Chose Crimson Wings and Gold Accents
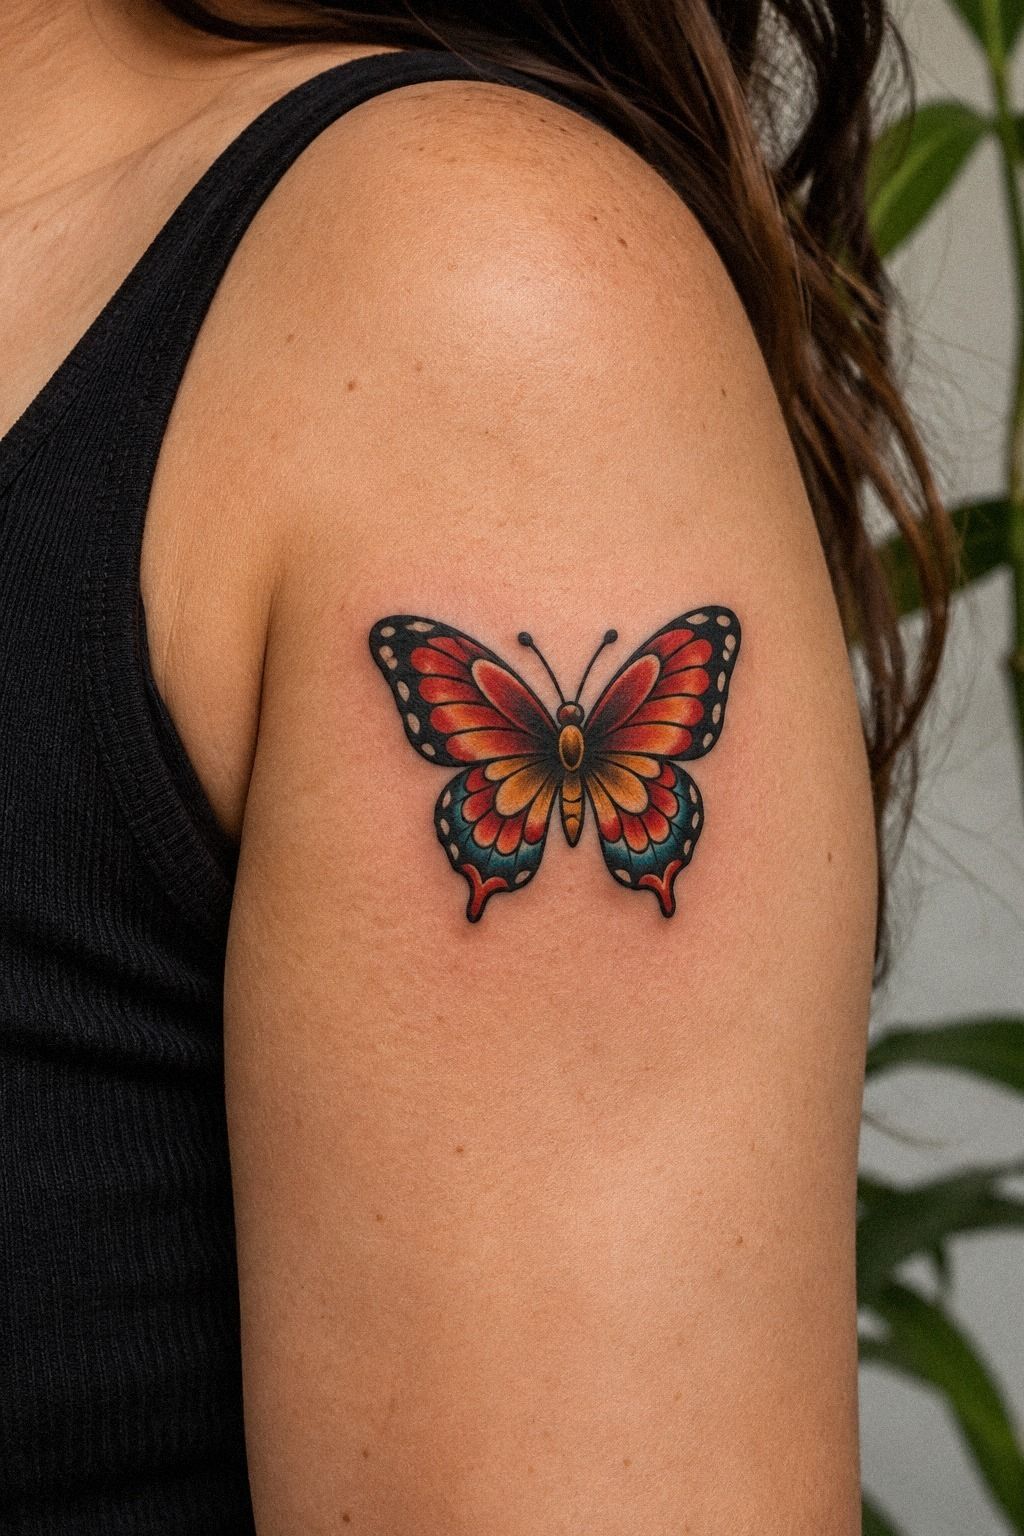
Plum wings became the emotional center of the design. I wanted the color to feel vibrant and daring, but I didn’t want it competing with the butterfly’s shape.
The rose-gold accents were smaller and more restrained. They gave the upper wings a graceful flash without turning the piece into a bright block of color. That balance made the palette feel expressive rather than loud.
I considered terracotta, charcoal, and muted violet before returning to plum. The color had the strongest symbolic pull for me. It felt fierce, romantic, and personal at the same time!
The final plum pigment also gave the design a timeless quality. It looked classic beside black, but it still had enough energy to feel personal.
4I Selected a Crisp Ornamental Linework Style

The linework had to be crisp enough to hold the wings together. It couldn’t be so heavy that the butterfly became a solid emblem.
I asked the artist to keep the outer contour navy-black and the interior marks lighter. That contrast made the design feel polished without losing its delicate character.
I also wanted a few ornamental wing marks near the upper sections. They added an expressive rhythm, but the pattern stayed simple enough to survive at a small scale.
Where Should a Small Butterfly Sit?
Placement changed the whole personality of the tattoo. A visible ankle placement felt personal without becoming the first thing everyone noticed. It also gave the wings a natural vertical direction.
I compared the ankle with the wrist, forearm, shoulder, and upper thigh. The wrist was more exposed to water and movement. The thigh felt easier, but less connected to the way I imagined seeing the butterfly.
Your best choice depends on visibility, friction, comfort, and future sun exposure. I also looked through small butterfly tattoo placement ideas and realistic butterfly tattoo placement references before deciding.
5I Positioned the Butterfly Above My Ankle

I originally planned the inside of my wrist. Then I changed my mind after noticing how often my hands move through sunlight, water, and daily work.
The ankle gave the small winged tattoo a clear vertical path. It was visible when I wanted it to be, but easy to cover for work or formal events. That flexibility felt worth the extra attention to friction and healing.
I checked other ankle references, including black butterfly tattoo placement ideas and traditional butterfly tattoo examples. The comparisons helped me see how different outlines changed the perceived size.
The placement also made the tattoo feel understated. It wasn’t hidden, but it didn’t dominate my appearance. That balance felt elegant and practical.

6I Checked the Stencil Against My Skin
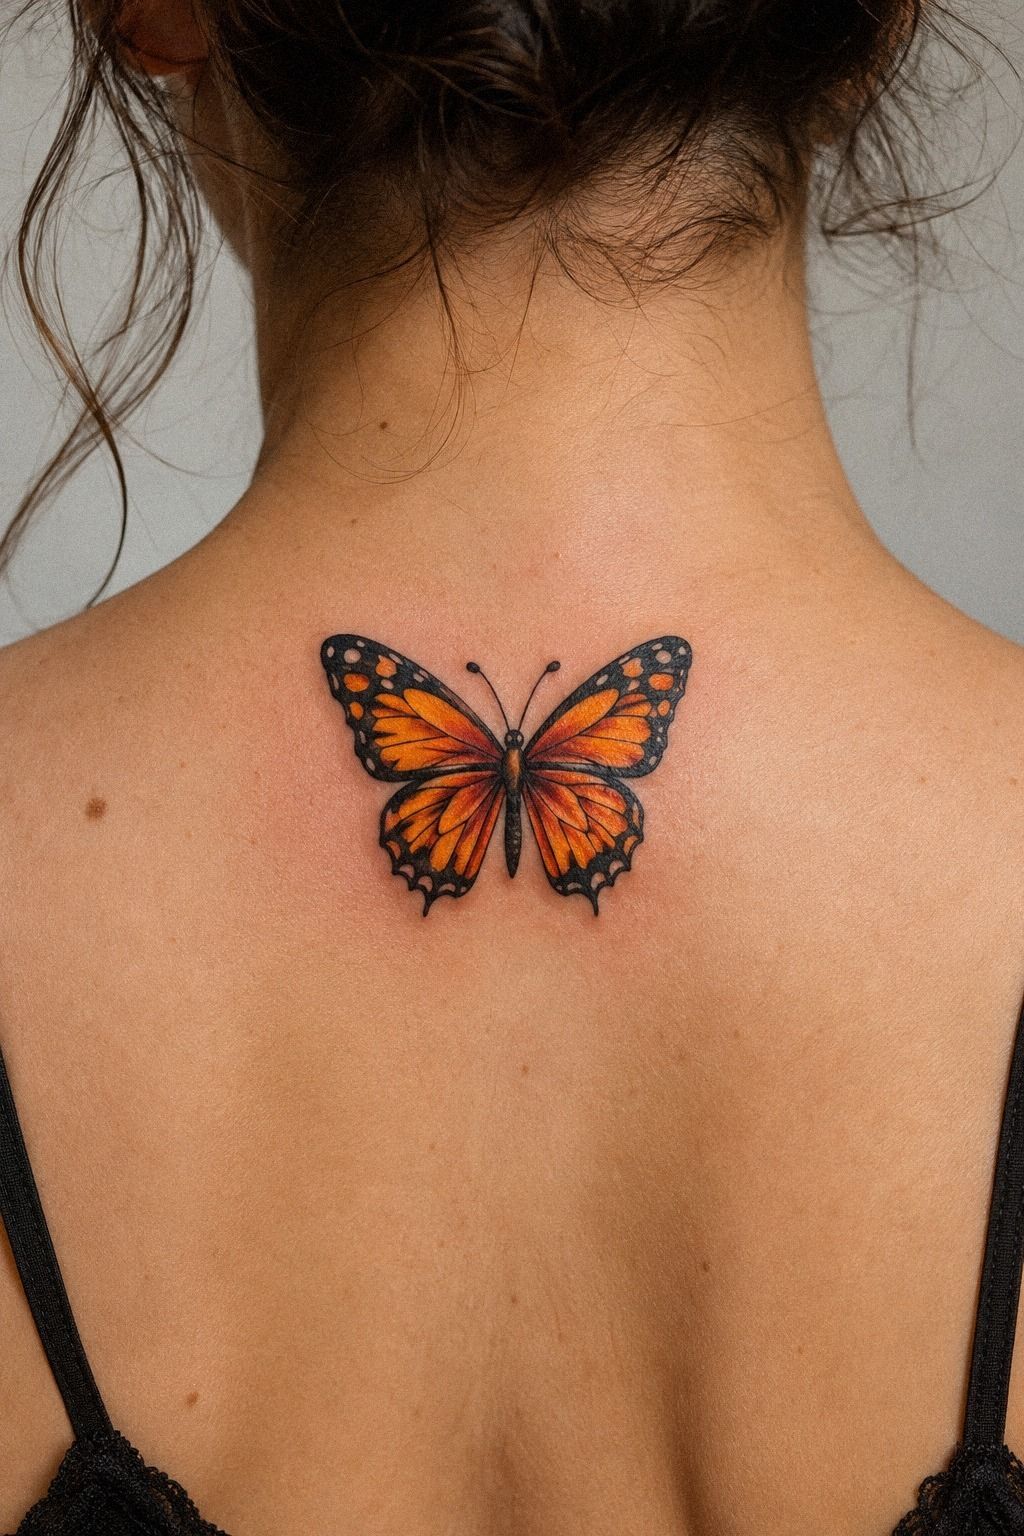
The stencil made the design real. On paper, every wing looked balanced.
Against my skin, the lower section seemed crowded, so I asked my artist to raise it by a few millimeters. That tiny shift gave the transfer stencil cleaner breathing space.
You should move before the stencil is permanent. Stand, sit, bend your ankle, and check the design from the angle other people will see.
I checked it in a mirror and under direct light. The placement looked balanced in both.
The stencil on deep ebony skin in my reference example reminded me that contrast isn’t one universal formula. A clear outline, thoughtful color, and sufficient spacing can make the design readable across different complexions. You’ll want an artist who understands how ink settles on your skin.
I almost approved the first position because I was nervous about delaying the appointment. That would’ve been a mistake. My transfer gel gave us time to adjust the placement without rushing, and the second position felt more graceful.
But don’t treat the stencil like a formality. It’s your last quiet chance to correct scale, angle, and visibility. I left it in place long enough to imagine dressing, walking, and checking the tattoo years later.
The Stencil Was My Last Quiet Decision
A stencil isn’t decoration. It’s a practical test of proportion, direction, and visibility. I could finally judge whether the wings looked graceful on my ankle or merely correct on paper.
I also checked the design beside traditional butterfly tattoo stencil references. The comparison showed me that a bold outline doesn’t have to become oversized.
That pause saved me from paying for a correction later. The extra minutes had real value, especially because the final cost included custom placement and color.
7I Sat Through the Sharpest Needle Passes

The sharpest sensation came during the outline, especially near the ankle bone. It wasn’t constant.
The intensity changed whenever the artist moved toward softer tissue. I focused on slow breathing while the 3RL needle grouping handled the smaller interior marks.
You’ll hear people describe tattoo pain as one simple scale, but placement matters more than bravado. Ribs, feet, hands, and sternum often feel more intense.
The forearm, thigh, and shoulder are usually more tolerable. My ankle sat somewhere in the middle.
The charcoal outline took concentration because the artist needed a steady pass. I watched the butterfly appear in sections.
That helped. You can see the body become recognizable before the wings are finished, which gave me a small, calming milestone.
I kept my phone away. I’d planned to distract myself, but watching the linework develop was more interesting than scrolling. The process felt raw and strangely intimate, even though the appointment was straightforward.
I wouldn’t choose the bony ankle if you’re terrified of discomfort. An upper arm or thigh may give you an easier first session. Still, my single-use needle cartridge made the process feel controlled, and the short session stayed manageable.
8I Watched the Vibrant Butterfly Take Shape

The warm camel tone went in after the outline. That was the moment the design stopped looking like a diagram.
The wings became vibrant, then the black accents added definition near the upper sections. I could finally see the camel and black ink working together.
You’ll want to resist judging the color while the skin is fresh. Saturated ink can look louder during the appointment.
The surface may also be swollen around the edges. I liked the boldness, but I knew the healed version would settle into something more understated.
The calf reference helped me understand scale. Its butterfly had open wings and a symmetrical center, but the surrounding skin gave the design visual breathing space. My ankle was tighter, so I kept fewer interior marks and a stronger outer contour.
I considered adding a tiny star near the body. Then I removed it.
That was the right call! A small tattoo can become busy quickly, and my negative-space wing panels already gave the eye somewhere to rest.
But I didn’t want a minimal butterfly with no visual weight. The final design stayed delicate in size while remaining fierce in outline. That contrast is why I’d choose neo traditional over a very thin style for a first piece.
9I Followed My Delicate Tattoo Healing Routine
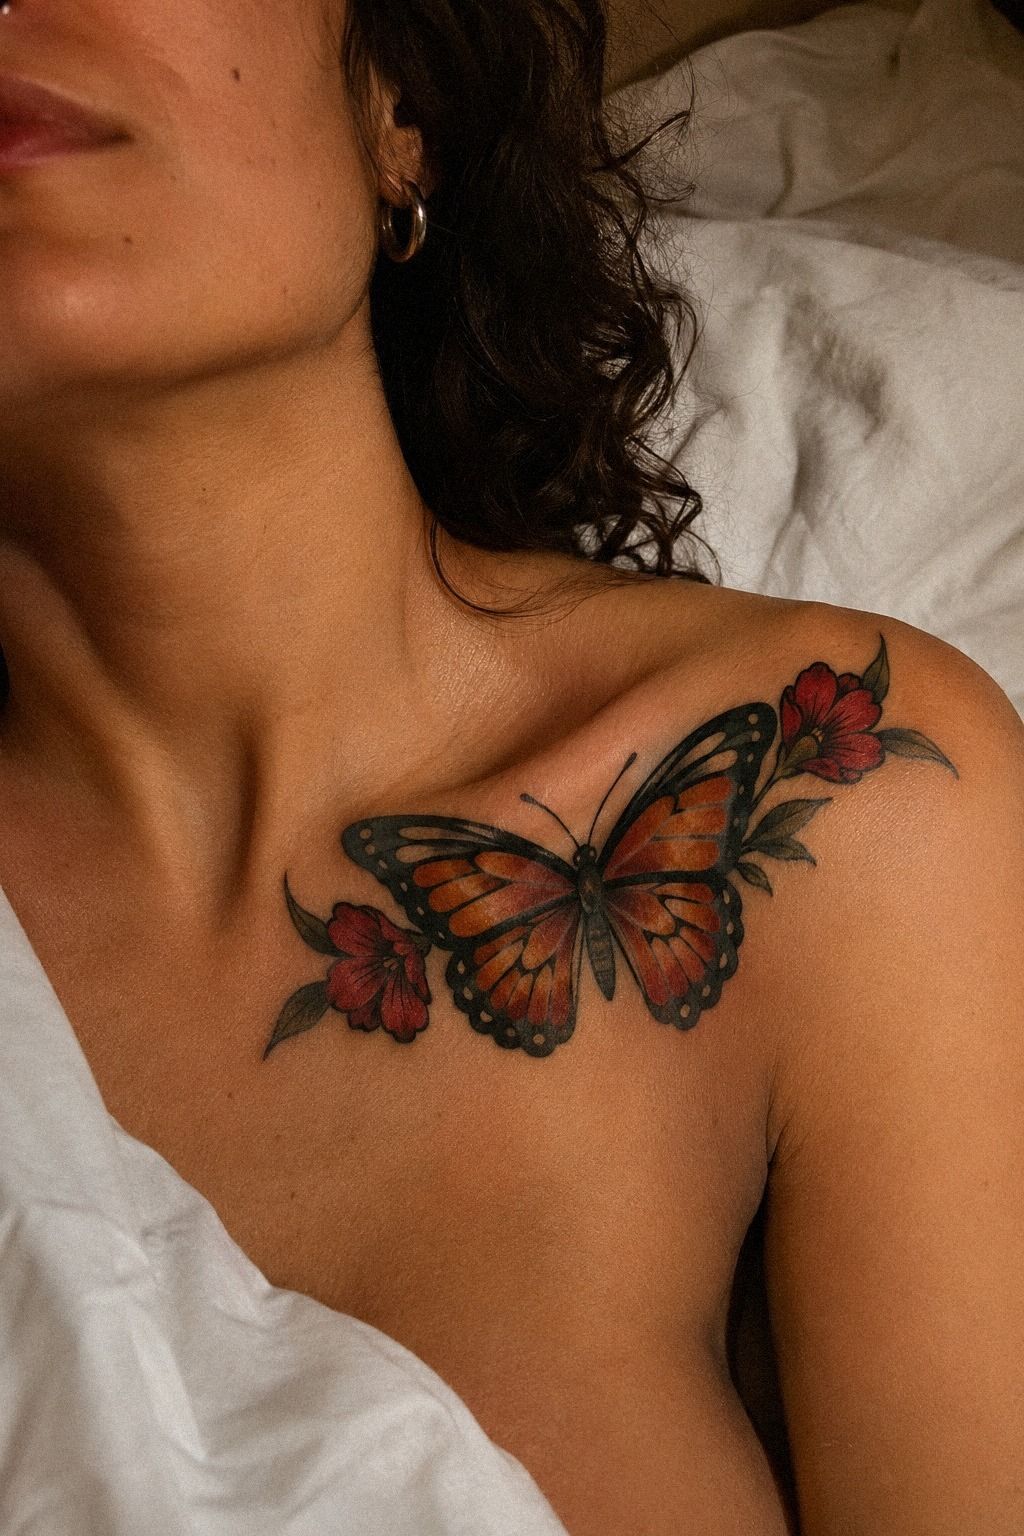
For the first few days, I followed the studio’s instructions closely. I washed the area gently, dried it without rubbing, and applied a thin layer of the recommended fragrance-free aftercare balm. You’ll want clean hands every time you touch a fresh tattoo.
The surface took about two to three weeks to settle. Complete healing can take roughly two to three months beneath the surface, even when the tattoo looks finished sooner. I avoided swimming and direct sun while the skin was vulnerable.
I also accepted that peeling was part of the process. It looked less polished before it looked healed, and I had to stop inspecting it every hour. Your job is boring here.
That’s exactly why people overdo it. Gentle care wins.
The first week felt delicate, especially under socks. I chose loose fabric and avoided unnecessary rubbing. My soft cotton sock mattered more than I expected because friction made the area feel irritated.
I kept sunscreen in mind after healing. UV exposure can soften color and blur fine details over time. You’ll protect a vibrant tattoo better with consistent sun care than with dramatic products used only once.
The Healing Timeline I Actually Followed
During the first week, I focused on cleanliness and friction. I didn’t pick at peeling skin, soak the ankle, or apply extra products just because the tattoo looked dry.
By the second and third weeks, the surface looked calmer. The settled tattoo surface gave me a better idea of the final color, although deeper healing was still continuing.
I waited before judging the design. That patience was worth it because fresh saturation can make a small tattoo seem harsher than it will look after the skin settles.
The result looked slightly softer, but it didn’t lose its identity. The outline remained sharp, and the plum still felt vibrant.
10I Added One Tiny Wing Detail Later
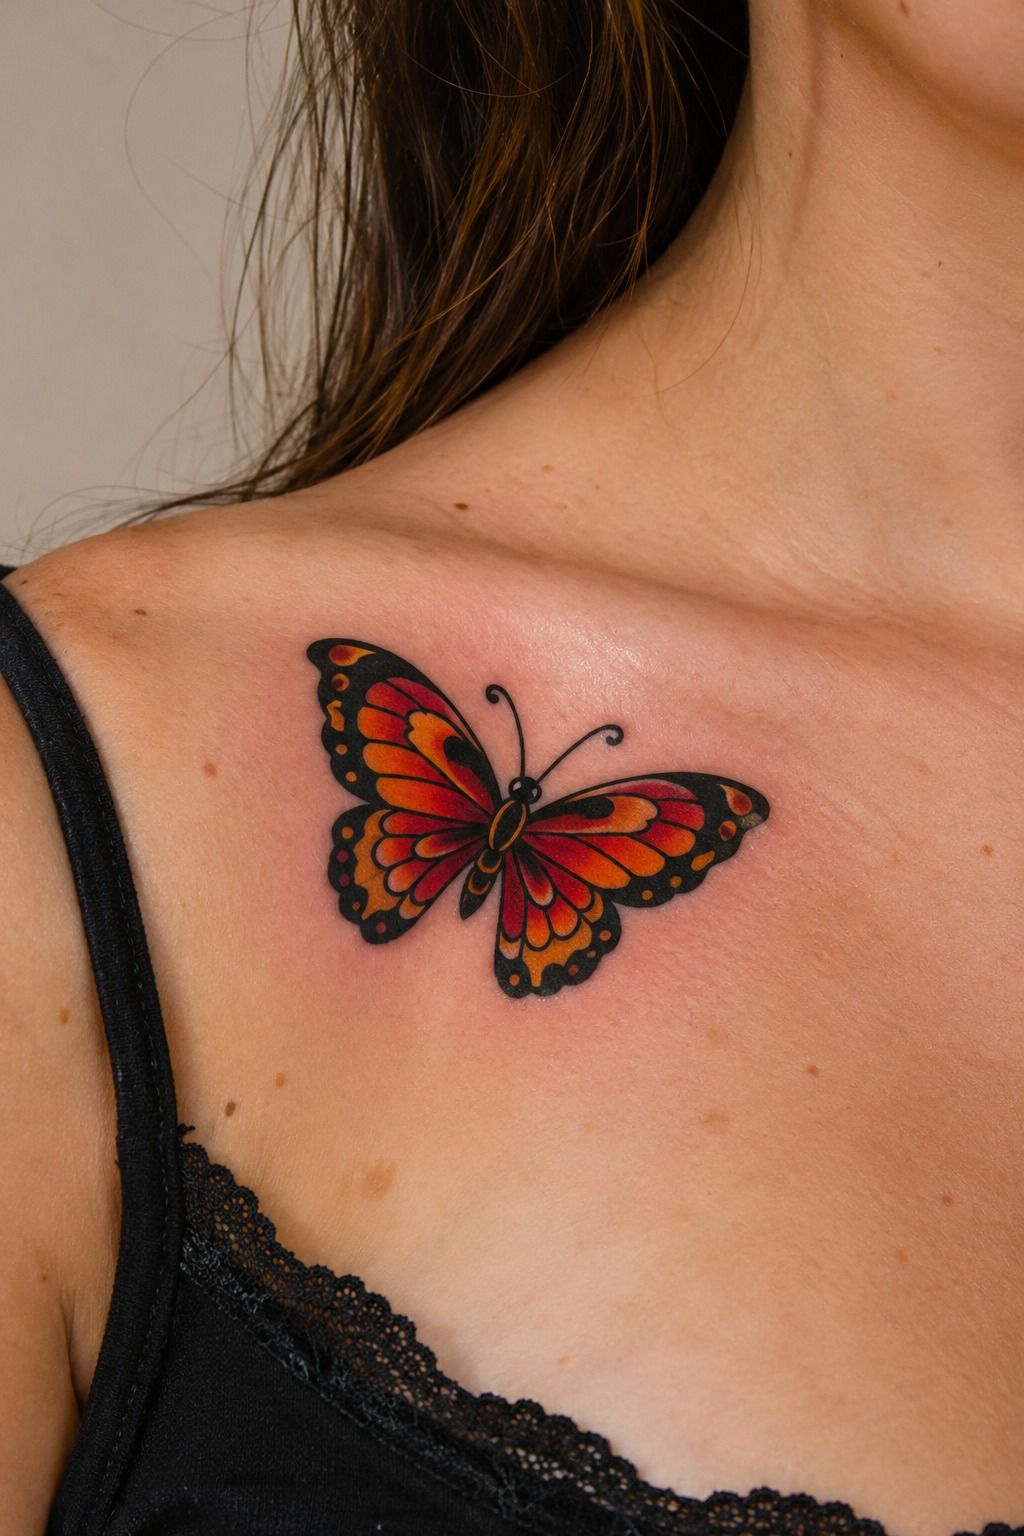
After the tattoo healed, I noticed one small area near the lower wing looked quieter than I remembered. It wasn’t a major flaw, and I didn’t want to chase perfect symmetry.
I asked about a small adjustment, and the artist added a restrained lower-wing accent during a short follow-up. The change made the shape feel more balanced without adding unnecessary detail.
That decision taught me something useful. A touch-up can improve clarity, but it shouldn’t become an excuse to keep expanding a design. I left the rest alone.
The final adjustment was subtle. It made the butterfly feel polished, not overloaded.
11I Carried Its Symbolic Meaning Every Day
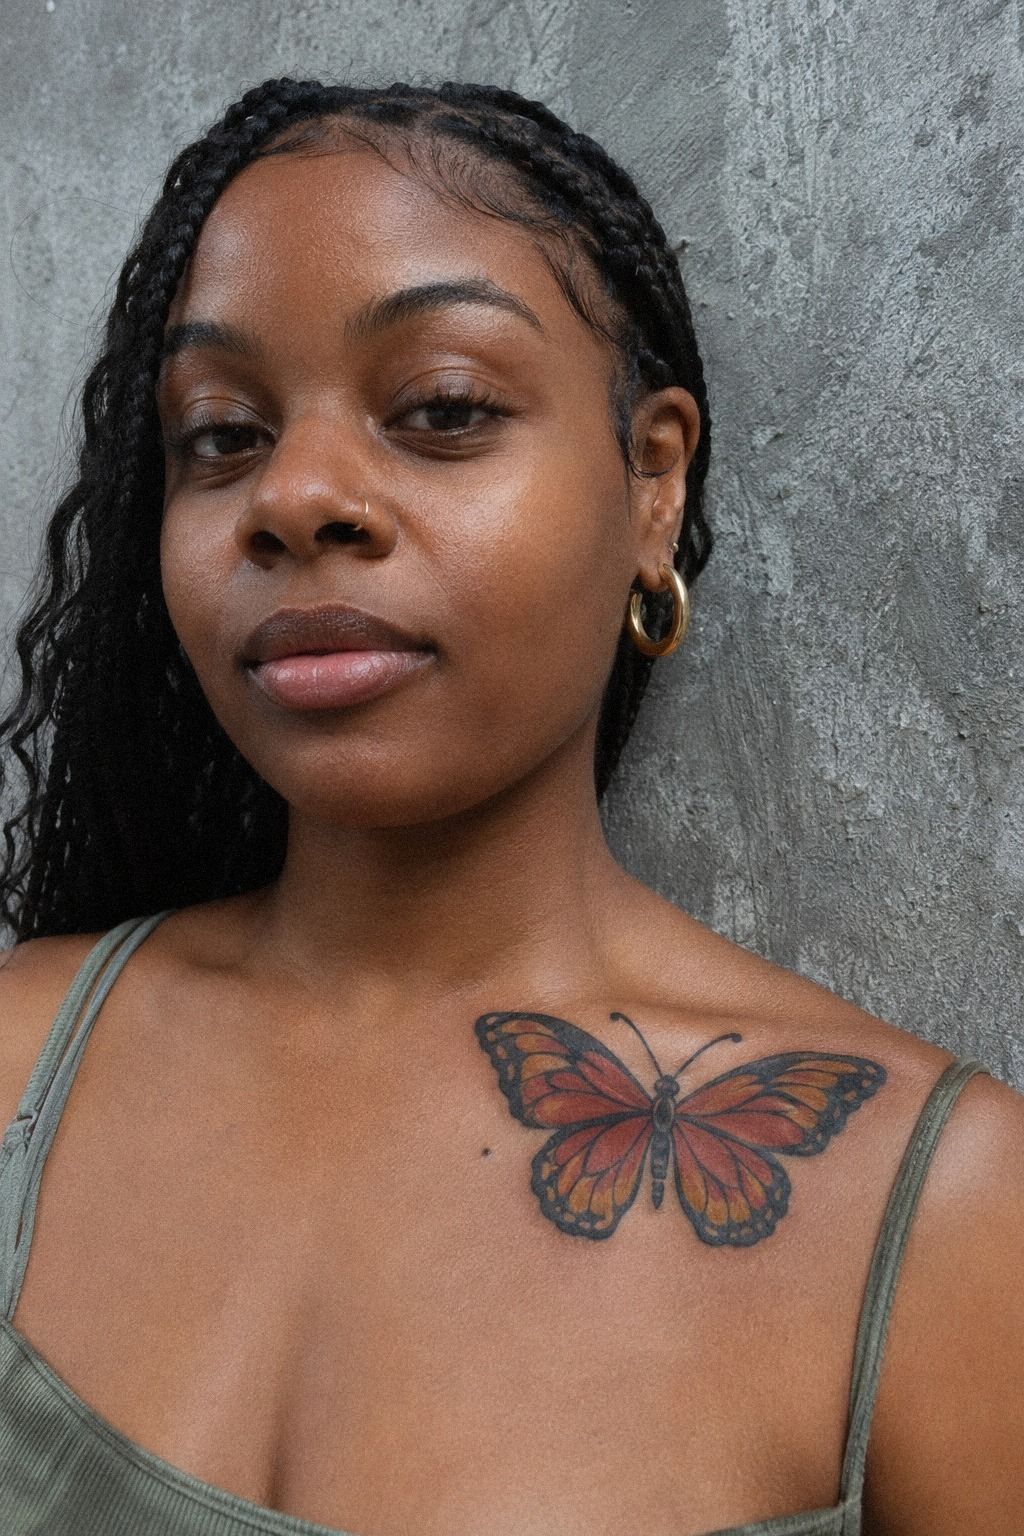
The butterfly became symbolic without needing a paragraph of explanation.
What the Budget Really Covered
The quote covered more than the minutes under the needle. It reflected the artist’s experience, consultation time, custom drawing, color planning, placement discussion, and hygiene standards.
I cared about artist portfolio value more than finding the lowest number. A cheaper quote wouldn’t be a bargain if the linework healed poorly or the design needed major correction.
My budget also included a possible touch-up. I didn’t assume one would be needed, but planning for it kept the decision realistic. It stopped me from treating the first quote as the complete cost.
How Much Did It Cost?
I planned for a typical United States price of about $100 to $300 for a small neo traditional butterfly tattoo. The final amount depends on the artist, region, placement, and shop minimum. I won’t pretend there’s one universal invoice.
Some studios set a minimum around $50 to $100. Hourly rates often fall near $100 to $250. My studio consultation helped me understand what I was paying for before the needle touched my skin.
My design stayed within the small-tattoo range because I limited the palette and avoided a long list of custom additions. You’ll spend more when the piece needs dense color, several revisions, or a highly booked specialist.
I’d skip choosing an artist only because the quote is low. A clean portfolio and healed examples are worth more than a bargain. Ask about the minimum, deposit, touch-up policy, and whether the quoted range changes with color.
If you’re comparing prices, ask what’s included rather than choosing the lowest cost. For me, the consultation, custom stencil, and healed-work review made the final price feel worth it.
Why This Butterfly Still Feels Right
I’ve had time to question the tattoo, and I still wouldn’t enlarge it. That surprises me because I usually want more detail once I understand a design. Here, the compact shape works because every mark has space to breathe and the meaning doesn’t depend on size.
The neo traditional style has lasting appeal because it gives people both structure and personality. You get a readable silhouette, confident color, and room for symbolic detail. It can feel timeless without becoming stiff, especially when the artist builds the design around your body.
I’ve learned that the best first tattoo isn’t necessarily the safest-looking one. It’s the one you can explain to yourself without needing approval from a trend.
My butterfly is graceful, but it also has a gritty outline and a little attitude. That combination feels more honest than a design chosen only because it looks polished.
Some people will tell you to start with black ink, a hidden location, and the smallest possible image. That advice can be useful, but it isn’t a rule.
I chose color because it carried the emotion. I chose a visible edge because I wanted to see the reminder.
I also learned to respect the boring parts. Researching healed work, checking the stencil, waiting through healing, and protecting the finished tattoo aren’t dramatic steps.
They’re what helped the final piece stay crisp. If you’re considering watercolor small butterfly tattoo inspiration, compare how softer edges behave beside stronger neo traditional outlines.
The final value came from confidence, not just appearance. I can look at the tattoo and still recognize the decision behind it, which makes the cost easier to accept.
What People Always Want to Know
How Much Does a Neo Traditional Small Butterfly Tattoo Usually Cost?
A small neo traditional butterfly tattoo usually costs about $100 to $300 in the United States. Shop minimums may start near $50 to $100, while hourly rates often sit around $100 to $250. Your final quote depends on the artist, region, color, placement, and detail.
You can compare traditional small butterfly tattoo ideas before requesting a quote, but the artist’s custom work will determine the actual price.
Are Neo Traditional Small Butterfly Tattoos a Good Idea for a First Tattoo?
Yes, they can be a strong first choice. The subject is readable, the placement can be manageable, and the outline gives the design structure. A personal butterfly also lets you choose meaningful color and symbolism without needing an enormous composition.
I’d review small fine line butterfly tattoos too, especially if you’re deciding between a delicate style and a bolder one.
How Do I Choose a Tattoo Artist for a Neo Traditional Small Butterfly Tattoo?
Review the artist’s portfolio for clean linework, saturated color, healed examples, and designs similar to your idea. Visit a hygienic studio and ask about their experience with the style. Healed portfolio work tells you more than a fresh example.
I’d also compare the artist’s approach with traditional butterfly tattoo stencil examples before booking.
How Much Do Neo Traditional Small Butterfly Tattoos Hurt?
Pain depends on placement. Ribs, feet, hands, and sternum often feel sharper, while the forearm, thigh, and shoulder are usually more tolerable. Your placement matters more than the tattoo subject, and short sessions can make a small design easier to manage.
My ankle was manageable, but I’d still look at black butterfly tattoo references before choosing a location.
How Long Does a Neo Traditional Small Butterfly Tattoo Take to Heal?
The surface usually settles in about two to three weeks, while complete healing can take roughly two to three months. Wash gently, moisturize as directed, avoid swimming during early healing, and protect the finished tattoo from strong sun. Patient aftercare helps preserve clarity.
I’d avoid judging color too early, especially when comparing softer designs such as watercolor butterfly tattoo inspiration.
What’s the Best Placement for a Neo Traditional Small Butterfly Tattoo?
The forearm, upper arm, thigh, and shoulder are practical choices because they’re often more tolerable and give the design space to age. The ankle can work if you accept more bone and friction. Your best placement balances visibility, comfort, movement, and future sun exposure.
I’d compare small butterfly tattoo placement ideas with realistic butterfly tattoo references before booking.
Where I’d Start First
If I had to pick one, I’d start with the stencil placement. A strong position gives your butterfly space to breathe, while a weak one makes every color and detail fight for attention. Check it standing, sitting, and moving.
Then I’d review healed work, confirm the total cost, and ask whether the design still feels personal without extra details. I’d also compare traditional black butterfly tattoo references before making the final call.
Book the piece you’ll still recognize as yours. That’s what made my small butterfly feel bold, meaningful, and worth it!