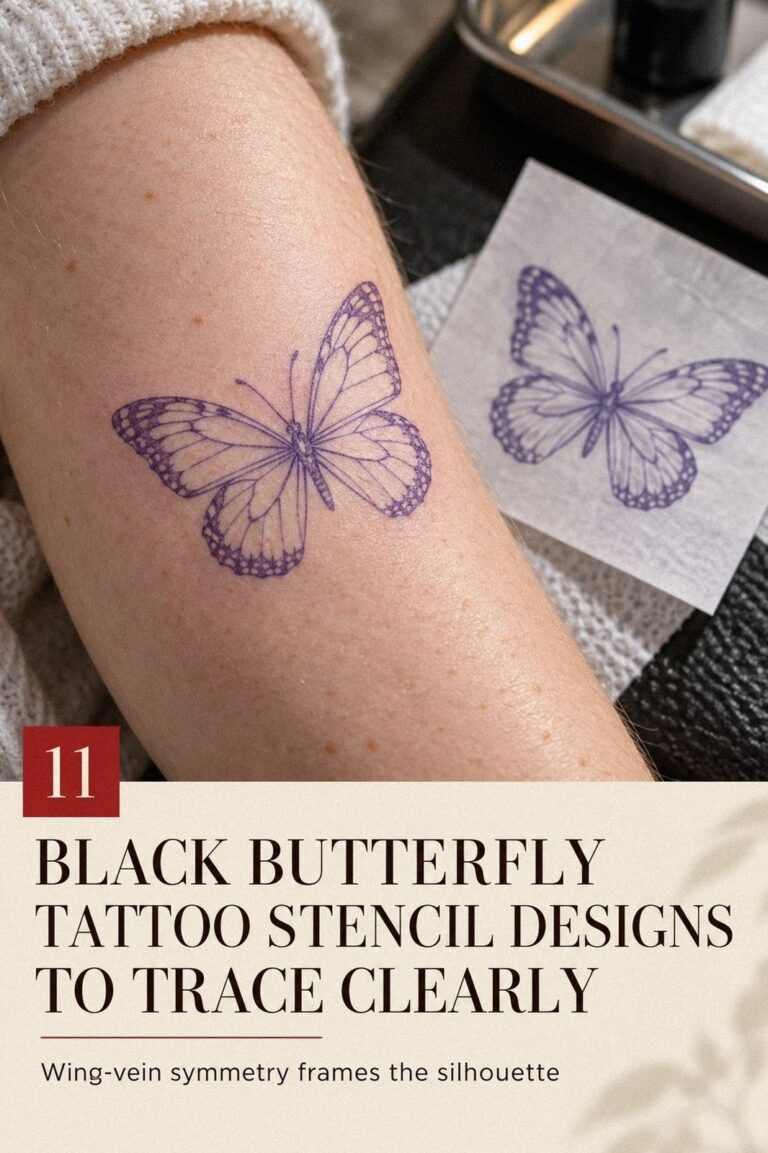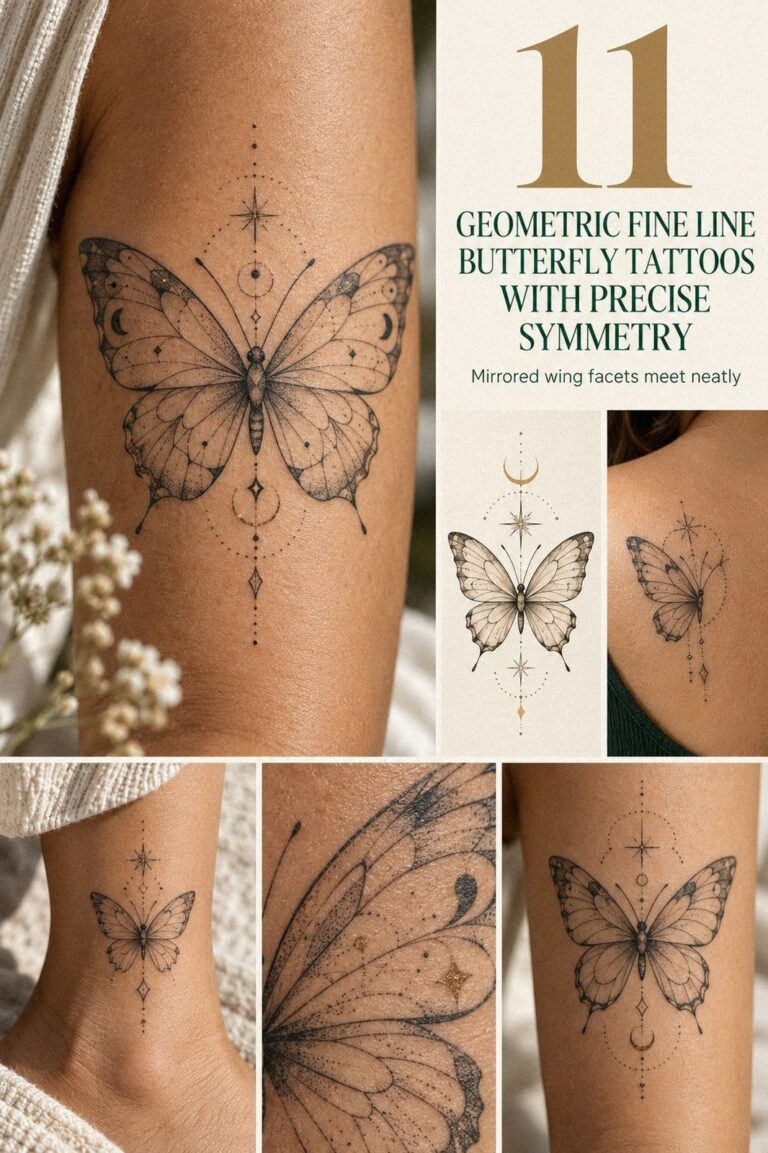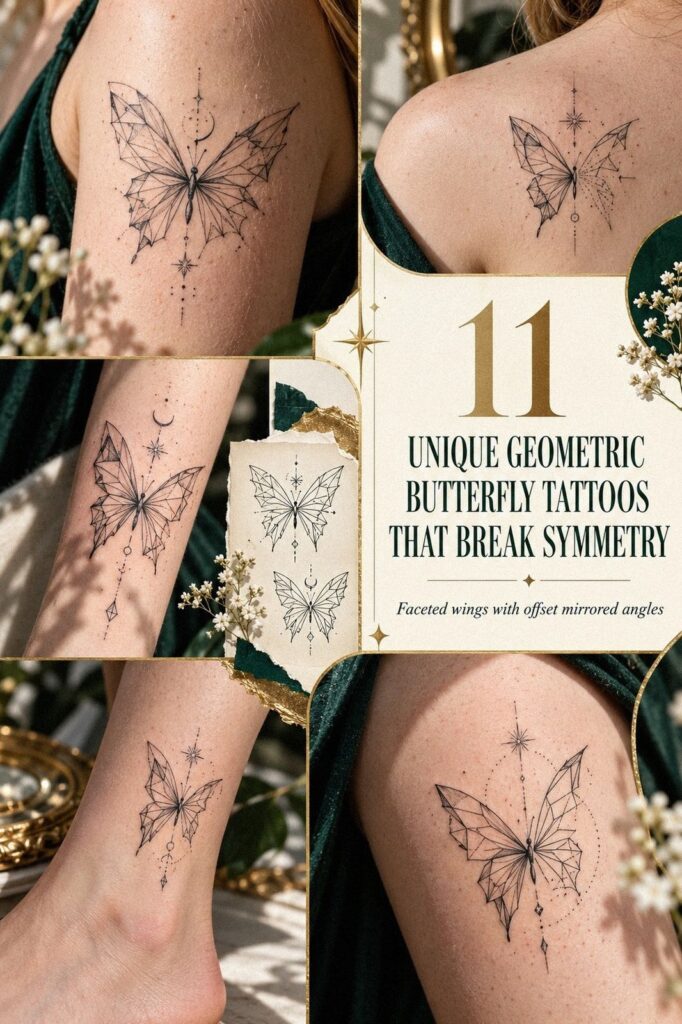
A geometric unique butterfly tattoo can stay easy to cover when placement comes before decoration. I learned that after sketching a crisp butterfly too close to a sleeve edge. Every short line became a daily announcement. This guide takes you from a 1.5-inch concept to healed aftercare, with cover-safe placement at each step. Start small. Plan sharply!
- Start With Small Geometric Butterfly Tattoo Ideas
- Pick Striking Symmetry For Unique Butterfly Linework
- Place Delicate Geometric Butterflies Along The Collarbone
- Keep Crisp Angles Across Each Butterfly Wing
- Plan Meaningful Shapes Around Your Personal Story
- Choose Daring Negative Space For Sharp Wings
- Add Intricate Details Without Losing Minimal Clarity
- Match Flowing Geometry To Your Body’s Movement
- Balance Bold Blackwork With Dainty Butterfly Lines
- Emphasize Symbolic Patterns Through Graceful Wing Segments
- Protect Vibrant Ink During Butterfly Tattoo Healing
1Start With Small Geometric Butterfly Tattoo Ideas
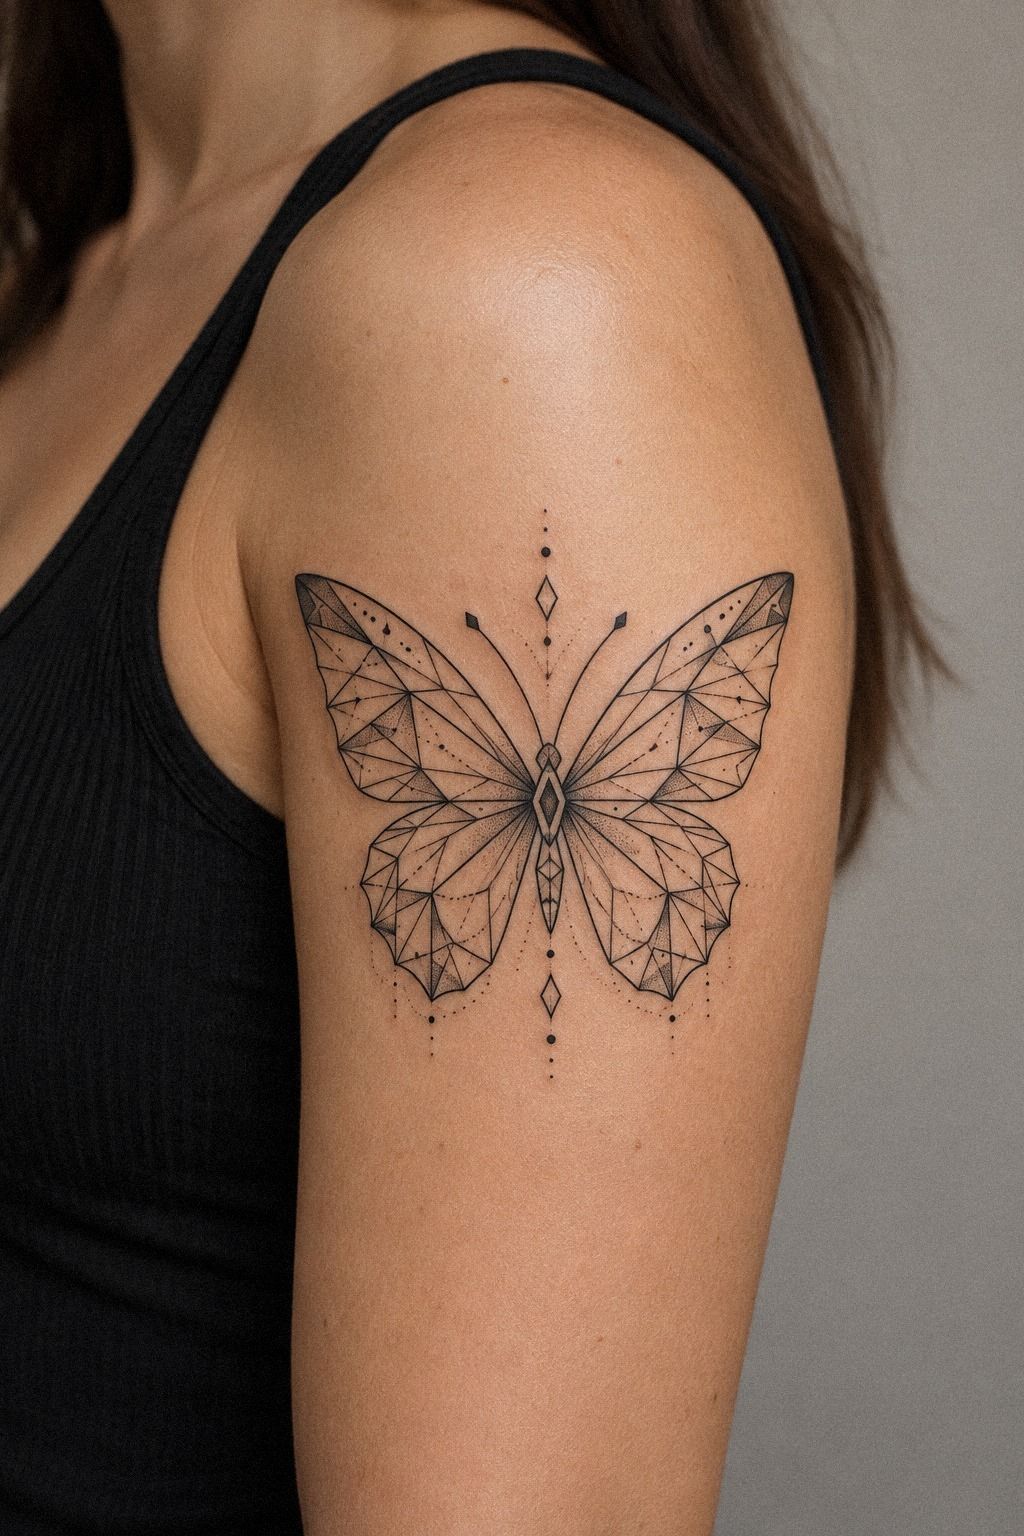
Begin with a compact silhouette before you chase intricate details. I like sketching a small geometric butterfly at roughly 1.5 to 2 inches.
Then I check how its wings read from several steps away and beneath a sleeve. Your first draft should show the body, wing points, and main segments clearly.
If it looks muddy on paper, it won’t improve on skin.
Use vellum stencil paper for early versions. You can flip the design and check symmetry quickly.
Trace one wing, mirror it, and compare the lower edges before you show your tattoo artist. You’ll notice small differences immediately, especially around the antennae and pointed wing corners.
Your placement changes the design’s coverability. A thigh gives you more privacy and lets your artist preserve a delicate outline.
An upper-arm placement can disappear beneath a short sleeve. I’d skip a tiny butterfly on the side of the hand if you need reliable coverage.
Friction and sun can make fine details less stable.
For more compact references, compare your sketch with these tiny unique butterfly tattoos and small unique butterfly tattoos. You’re looking for a readable silhouette, not a crowded one. Minimal can still feel powerful when every line has a job.
That first sketch should feel personal, clean, and slightly daring. If the outline already feels ornate, remove one detail before adding another. Strong structure gives a small tattoo a polished, timeless quality.
2Pick Striking Symmetry For Unique Butterfly Linework
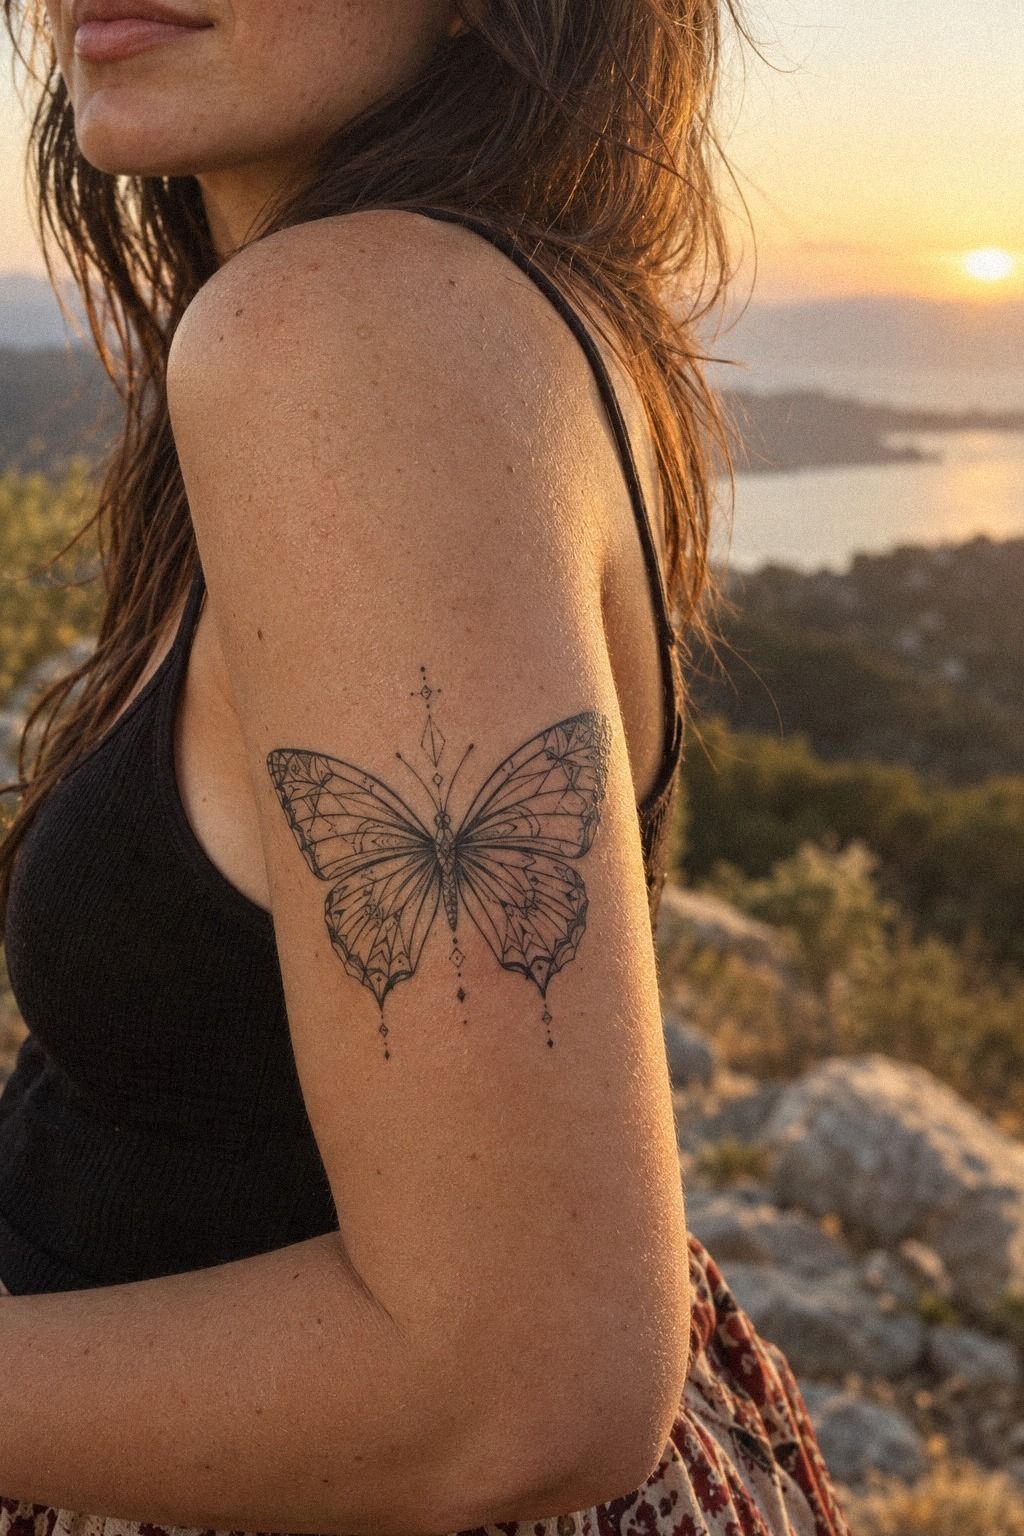
Symmetry gives a geometric butterfly its striking character, but perfect mirroring isn’t the only goal. Wing symmetry should support the butterfly’s movement, not make it feel stiff or mechanical.
3Place Delicate Geometric Butterflies Along The Collarbone
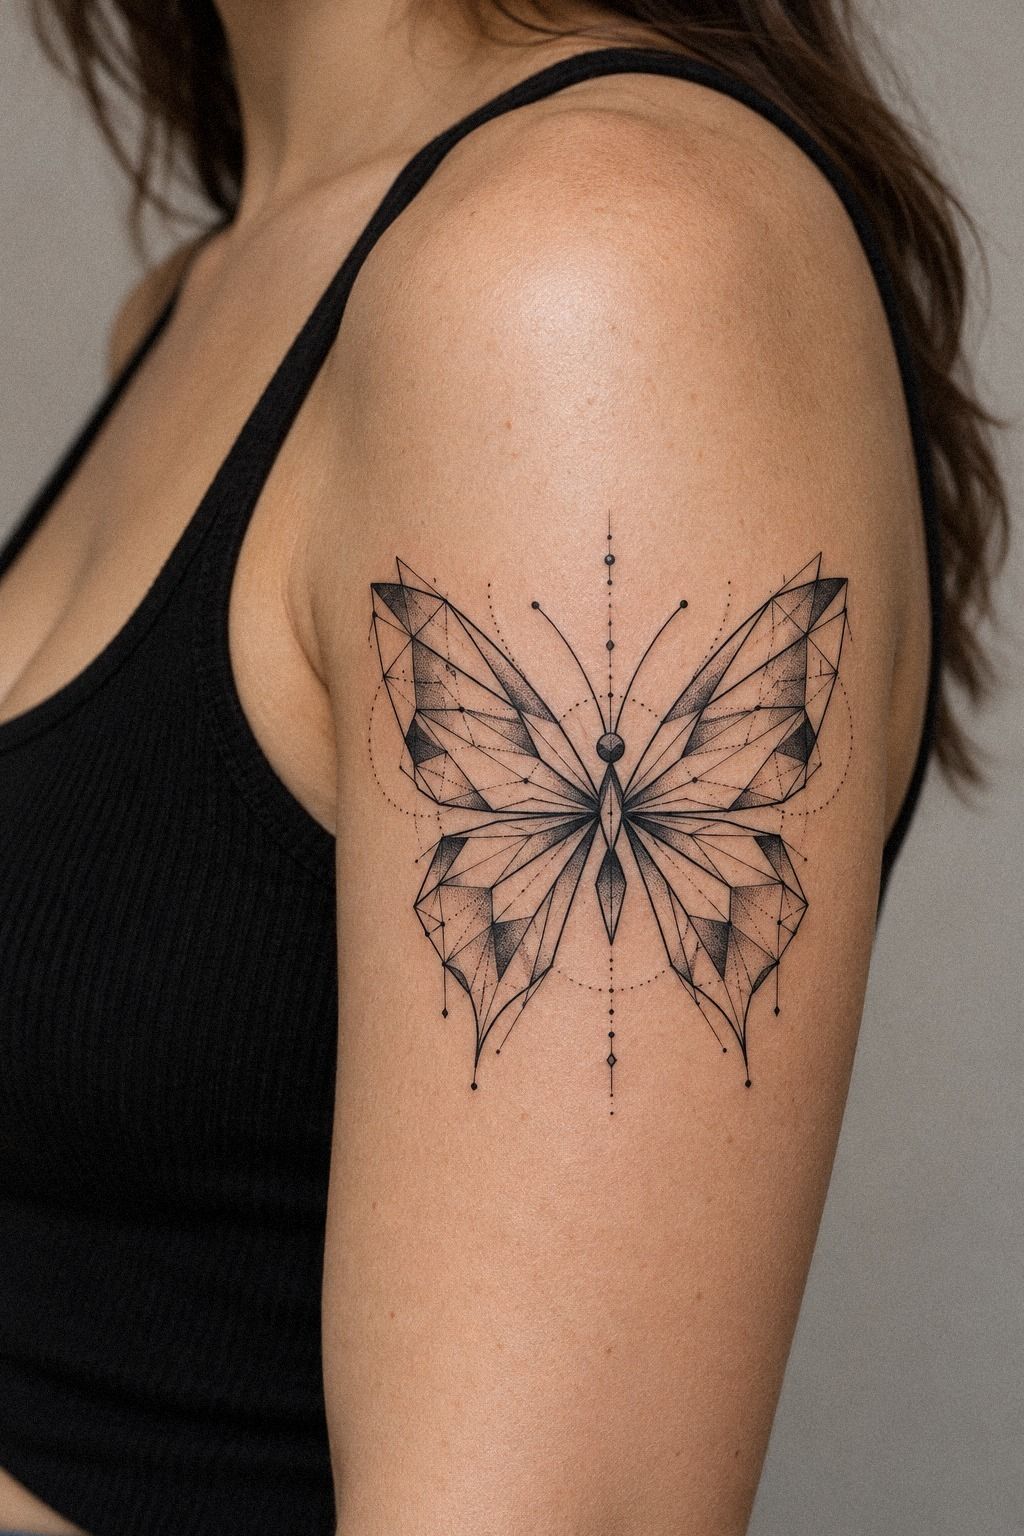
The collarbone works for delicate geometric butterflies because the natural bone creates a clean horizontal guide. Your artist can angle the butterfly so its body follows the center of your chest while the wings open toward the shoulder.
I’d keep the design a little smaller than the available skin. Crowding collarbone placement makes cover-up planning harder later.
Use sterile stencil gel and ask your artist to test the transfer at rest. The collarbone moves whenever you lift your arm, turn your neck, or pull on a shirt. You’ll want to see the entire butterfly from the front, not only when your shoulder is pushed back.
A meaningful collarbone tattoo can stay understated if the outer points stop before the shoulder joint. That gives you an easy boundary under a neckline.
It also keeps the design from becoming a larger shoulder piece by accident. The placement feels elegant and feminine without forcing the tattoo to announce itself.
Your skin tone and undertone don’t decide whether geometry works. Contrast and line weight still deserve care.
Ask your artist for healed examples on similar skin rather than relying on a fresh reference. Then compare the placement with these delicate unique butterfly tattoos before you commit.
4Keep Crisp Angles Across Each Butterfly Wing
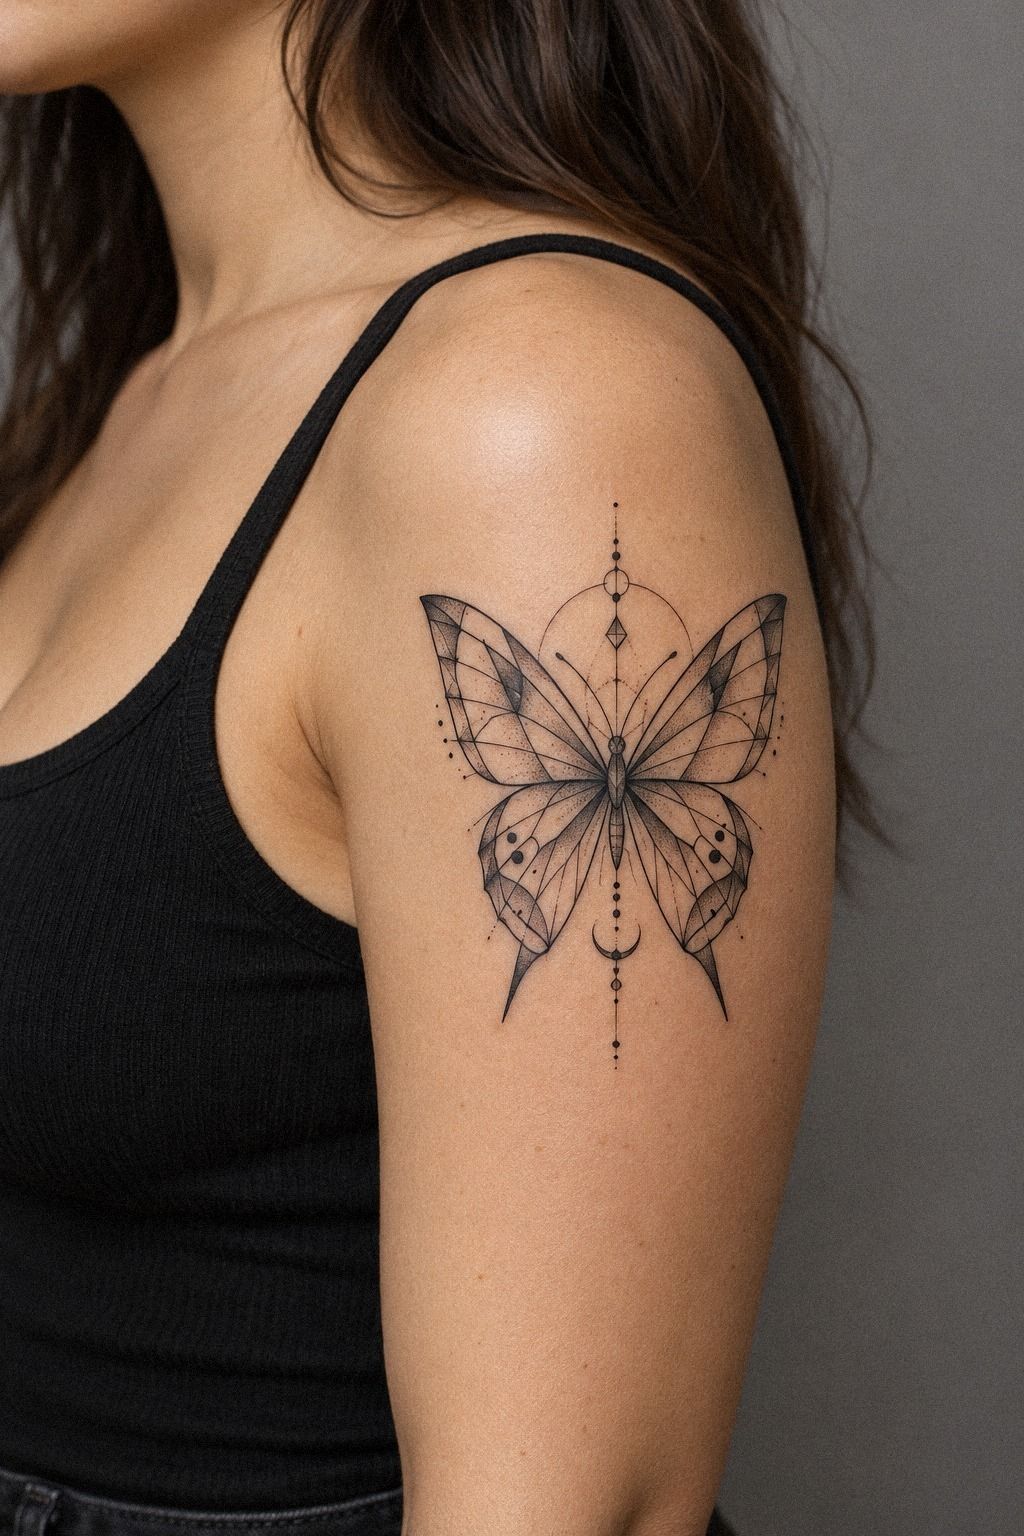
Crisp angles need enough breathing room to remain recognizable after healing. Line spacing matters as much as the wing shape itself, especially when the design is small.
5Plan Meaningful Shapes Around Your Personal Story
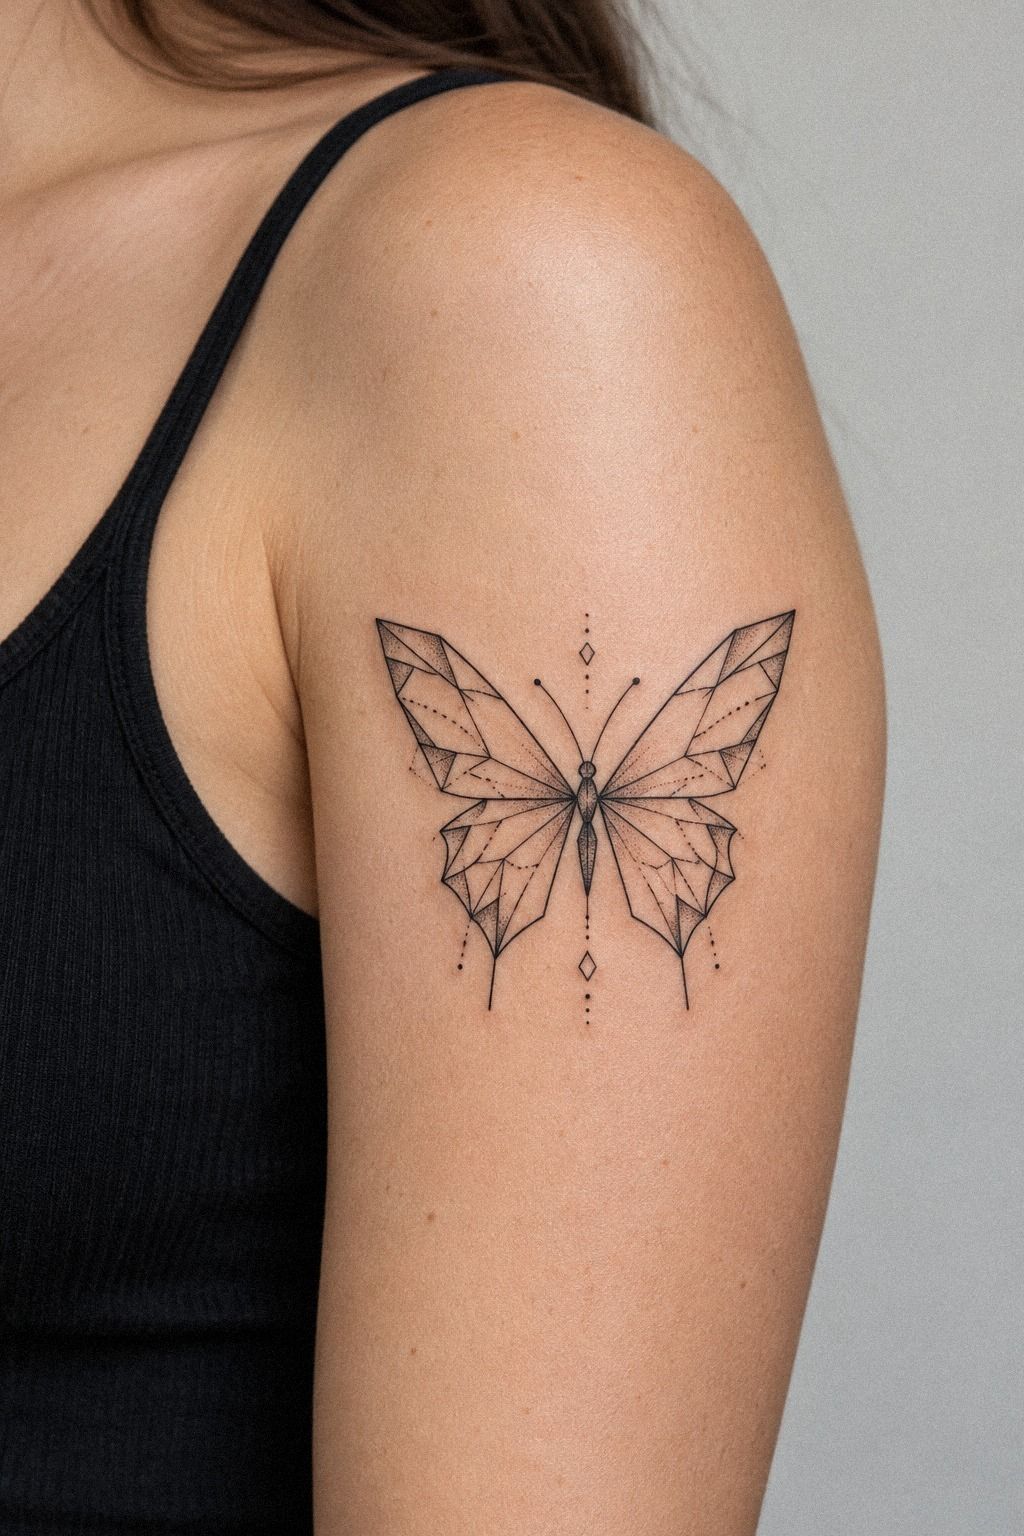
Meaningful shapes work best when they connect to something you can explain without borrowing someone else’s symbolism. Your butterfly might carry a family initial through its center. It might echo a birth month through four wing divisions.
It could also use a personal symbolism pattern from a sketchbook. I’d avoid adding symbols only because they’re popular.
Personal beats ornate.
Start with a geometric flash sheet on plain paper. Draw three versions of the same butterfly.
Then change only one feature in each: the wing angle, the center shape, or the number of internal segments. You’ll learn which detail feels personal and which one is decoration you’ll forget.
Your tattoo artist can turn that idea into a stencil, but you should bring a clear reason for every mark. I’ve found that one center shape often feels more powerful than a collection of vague references. The result can be raw, expressive, and still minimal enough to cover with a sleeve or trouser leg.
If your story points toward a lighter design, review minimalist unique butterfly tattoos and watercolor unique butterfly tattoos. You don’t need color to make the piece romantic or meaningful. A single deliberate segment can carry more weight than an ornate border.
6Choose Daring Negative Space For Sharp Wings
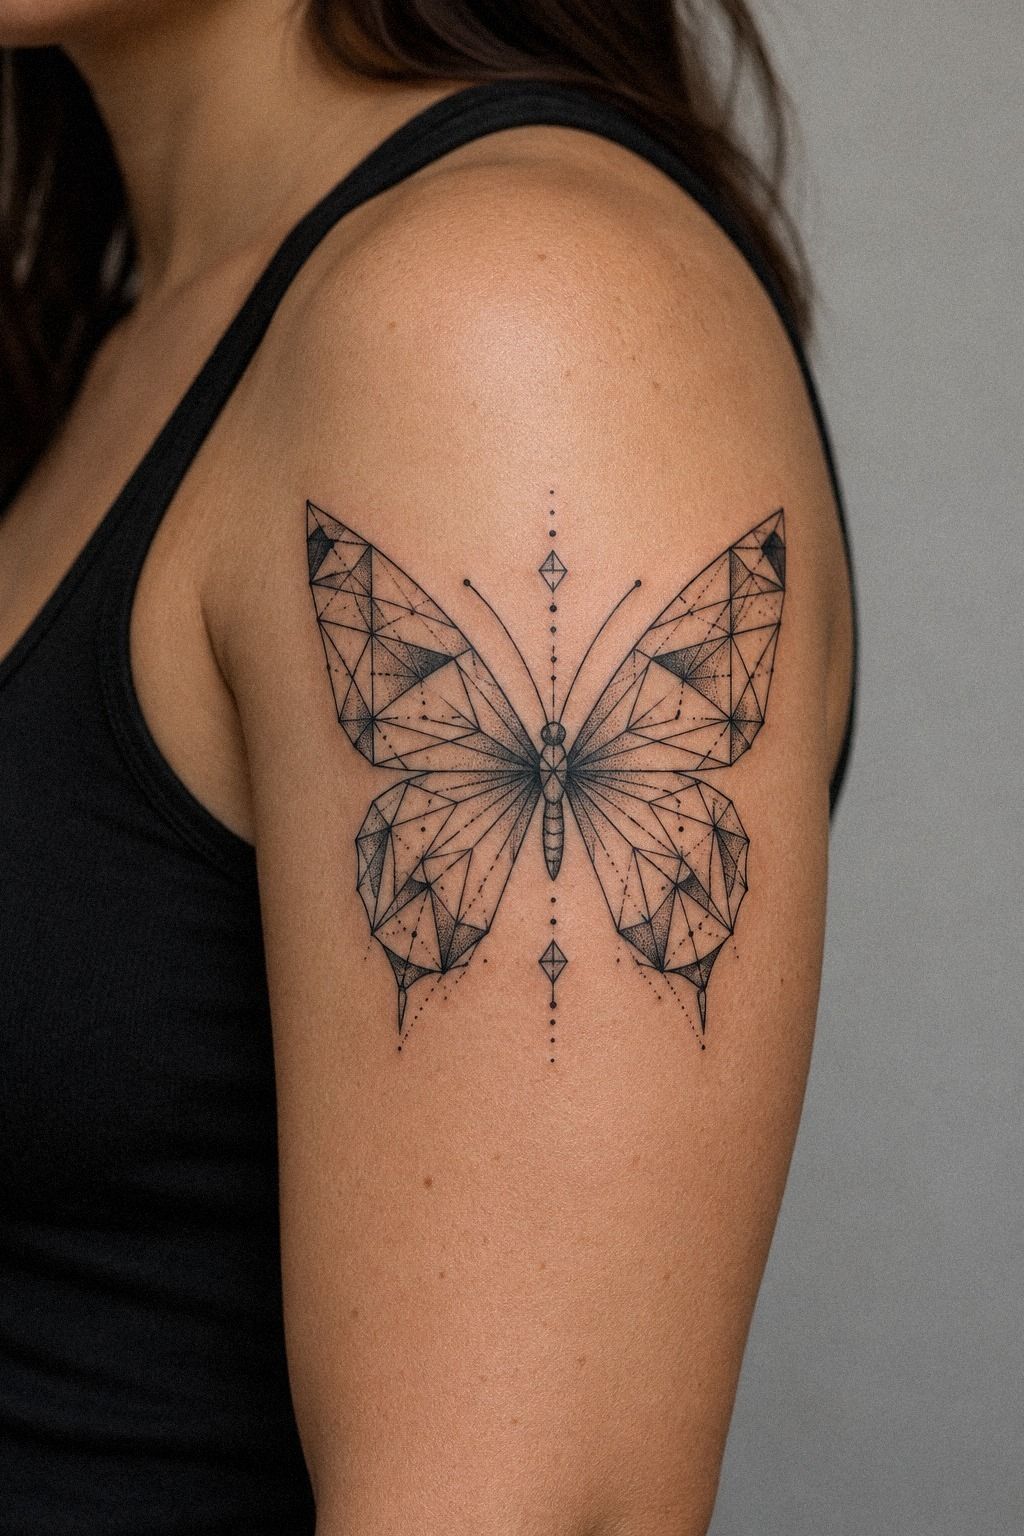
Negative space is the skin left untouched inside or around your butterfly. It gives each wing segment room to breathe.
It also helps a small design stay readable when you need to cover it. Good negative space isn’t empty by accident. It’s part of the drawing.
Ask your artist to mark the untouched skin as carefully as the inked lines. A narrow gap can close visually when a design heals. A wider gap can keep the wing pattern crisp.
You’ll want enough separation for the main shapes to remain distinct.
Think about the clothing you’ll use for coverage. A short sleeve, high neckline, or trouser leg may hide the tattoo, but only if the outer points stay inside that boundary. A covering garment should work with the design’s location, not fight it.
I’d also ask how the tattoo will look when your body moves. The skin may stretch, fold, or rotate.
That changes how the gaps appear. A clear negative-space plan gives your artist options without forcing the butterfly to become larger.
Keep the design readable! If every gap is tiny, the tattoo may look bold in an unintended way. If every gap is huge, the wings may lose their wing structure.
The best balance feels daring, sharp, and personal.
7Add Intricate Details Without Losing Minimal Clarity
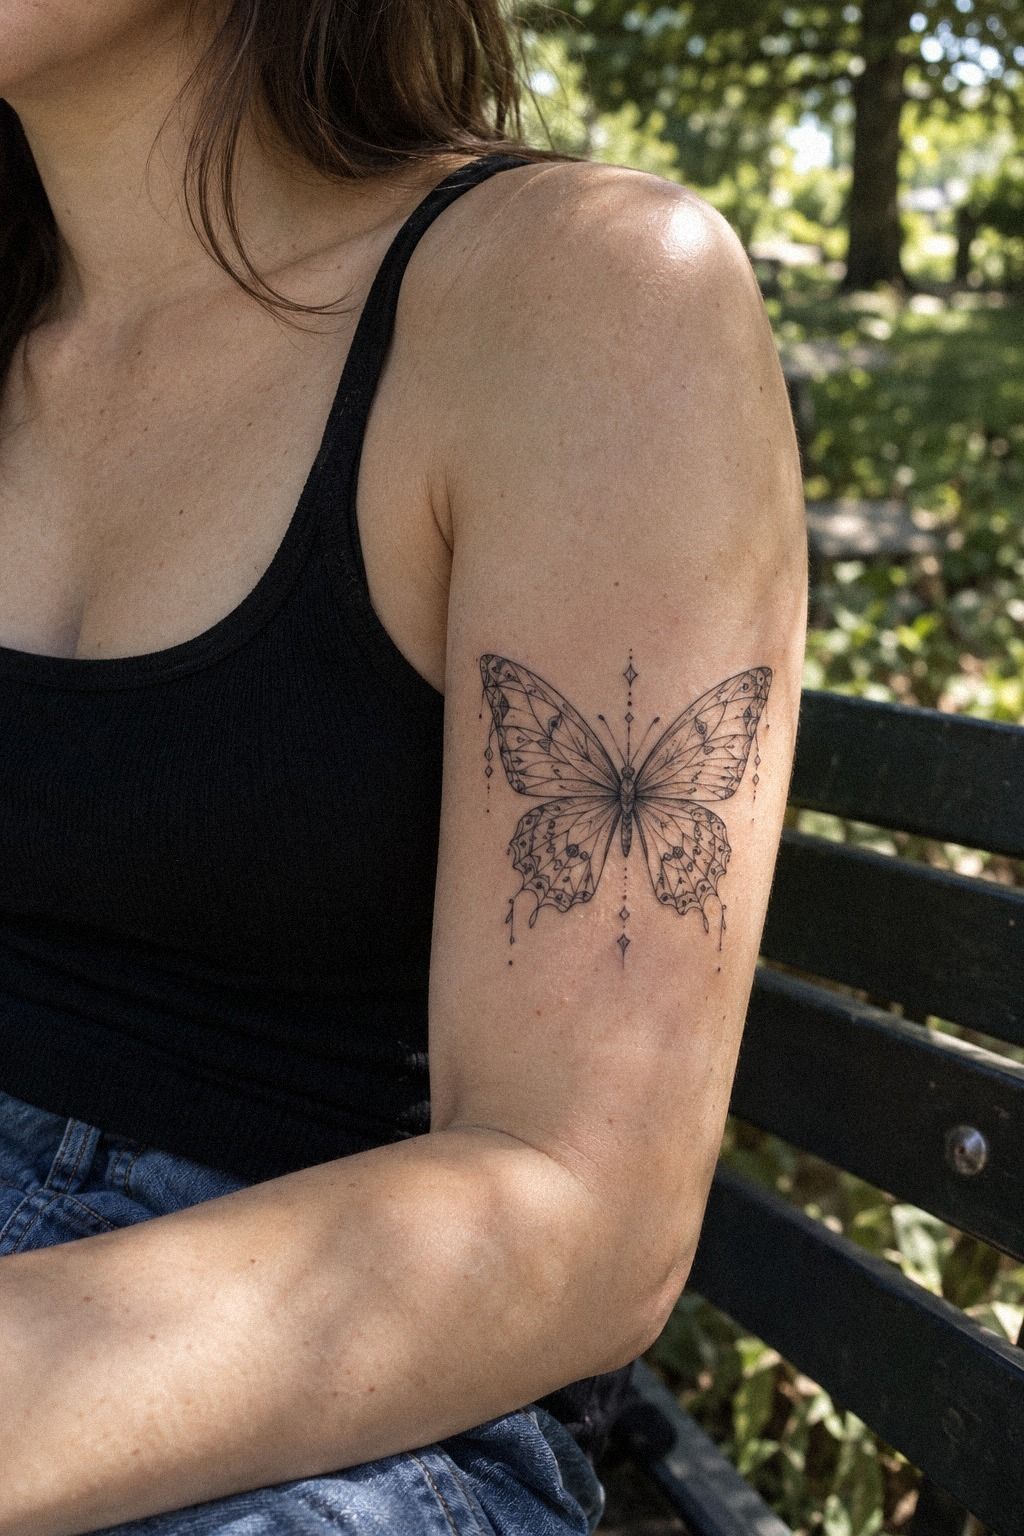
Intricate details should support the butterfly’s structure, not compete with it. A clear detail hierarchy keeps the design sleek, graceful, and easy to understand.
8Match Flowing Geometry To Your Body’s Movement
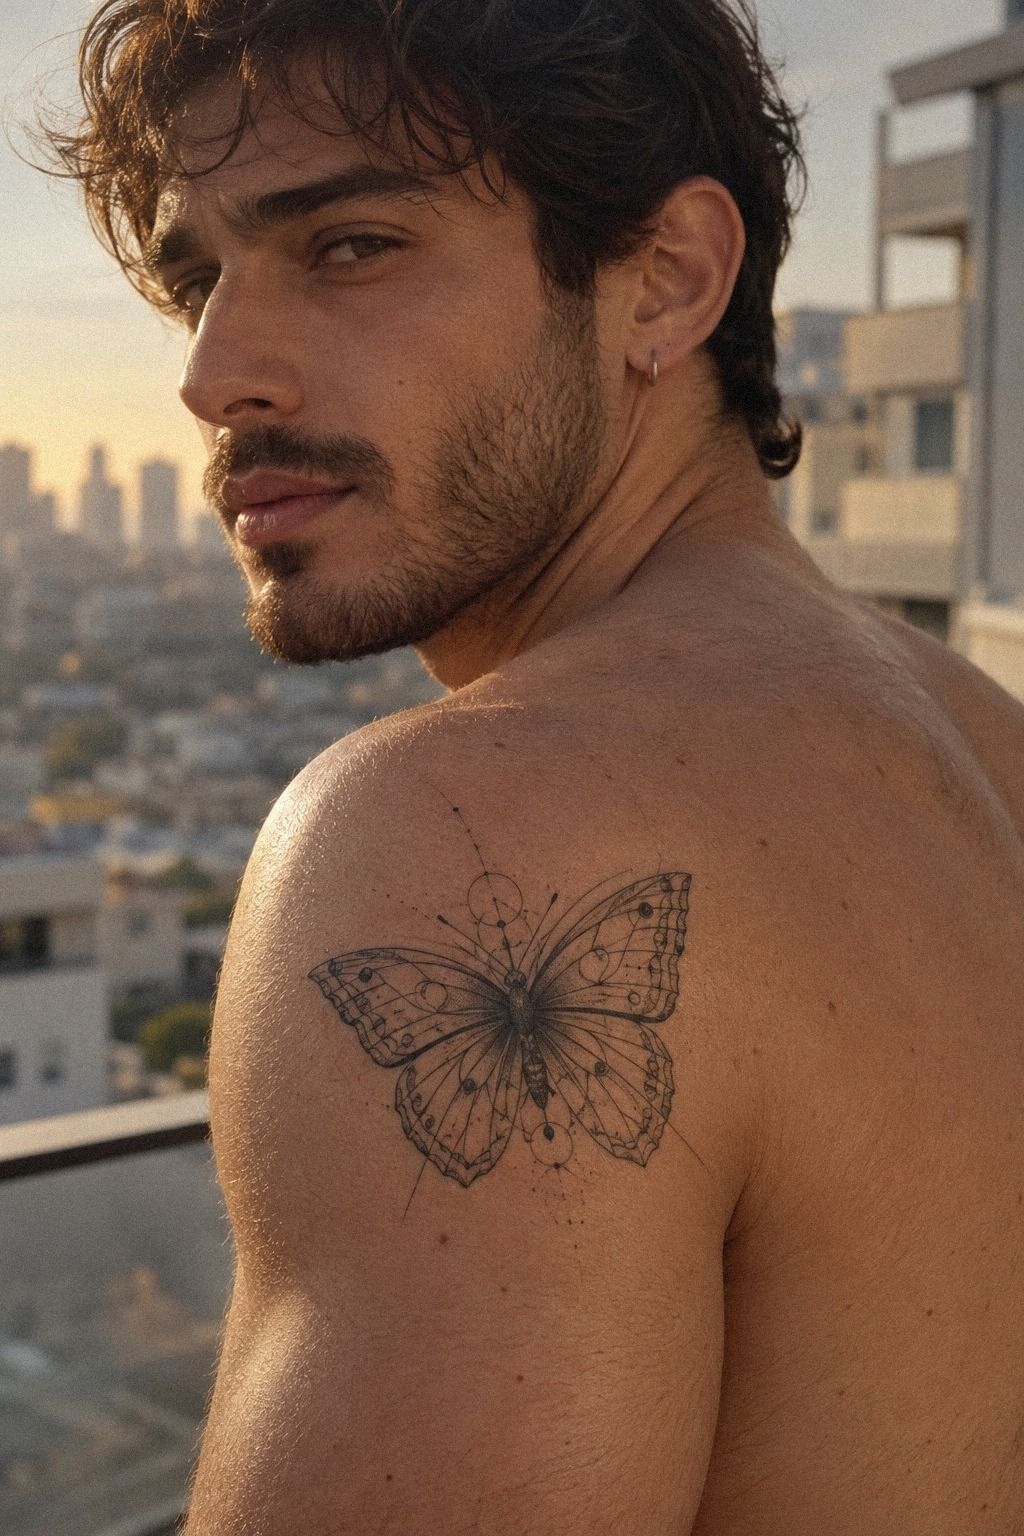
A shoulder butterfly should move with your body instead of sitting stiffly against it. The wings can follow the curve of the body movement. Their outer points should still look balanced when you lift, lower, or rotate your arm.
For a shoulder blade placement, ask your artist to check the design while you stand naturally. The skin can shift when you reach forward.
A geometric tattoo that looks perfect with your arm raised may tilt when your arm rests. Shoulder blade placement deserves that extra test.
A shoulder blade butterfly can feel fierce and graceful at once. It may stay hidden beneath daily clothing while remaining easy to reveal when you choose. Keep the body centered on the bone rather than forcing the wings into a perfect flat shape.
The stencil should be tested from more than one angle. Ask to see the stencil transfer while your shoulder is relaxed, lifted, and turned slightly. You’re checking the flow, not chasing mathematical perfection.
Flowing geometry can still look crisp. Your artist may adjust a wing line by a few millimeters to follow the skin.
That small change often creates a more timeless result. It also makes the tattoo feel more expressive when your body shifts.
9Balance Bold Blackwork With Dainty Butterfly Lines
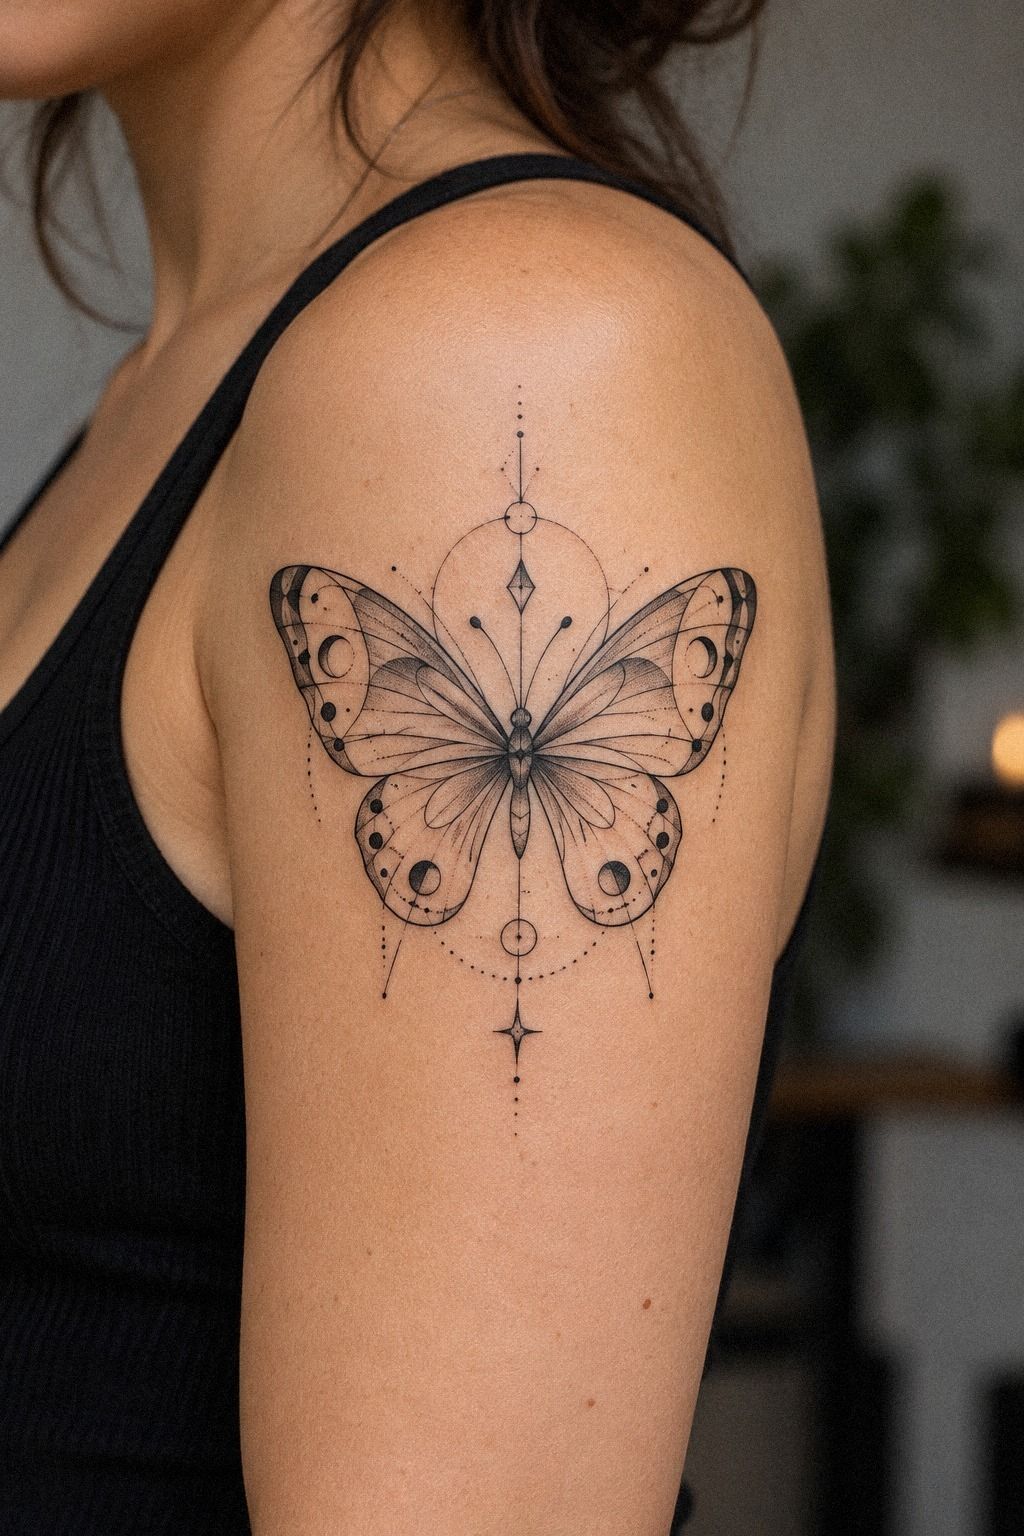
Bold blackwork and dainty lines can share one butterfly when they have separate jobs. Use a darker body or one lower-wing segment as the anchor.
Then leave the outer wings lighter. Your artist should avoid spreading heavy fill evenly across every section, because that erases the delicate contrast you wanted. A blackwork anchor gives the design focus without overwhelming it.
A solid black fill can age more reliably than extremely fine detail, but placement still matters. I’d keep the strongest black away from tiny intersections. Use it where the silhouette needs support.
You’ll get a polished tattoo that reads from a distance and remains interesting at close range.
And don’t confuse more black with more impact. I’ve seen a dainty butterfly become less expressive after every open space was shaded. The daring move is visual restraint, especially on a shoulder where the design already has a strong natural curve.
For comparison, look at geometric black butterfly tattoo ideas beside minimalist unique butterfly tattoos. Your artist can blend the two approaches, but you should decide which one leads. I’d let the outline lead and use blackwork as punctuation.
10Emphasize Symbolic Patterns Through Graceful Wing Segments
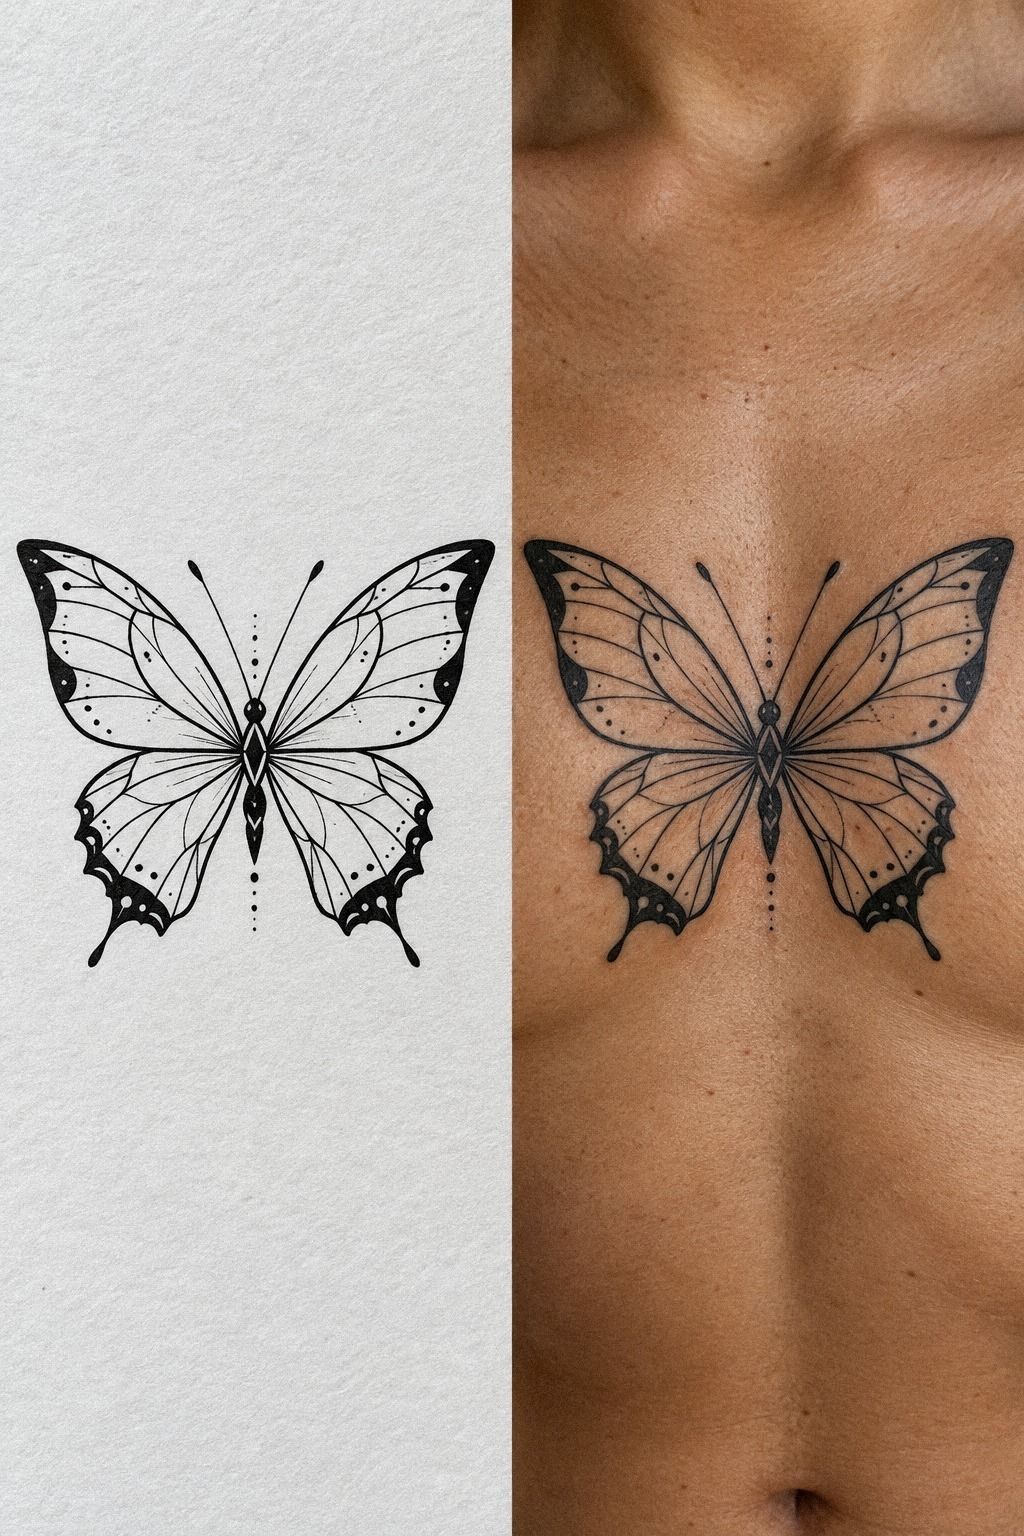
Treat each wing segment as part of a visual sentence. Symbolic wing segments can make the butterfly meaningful without turning it into an ornate collection of unrelated marks.
11Protect Vibrant Ink During Butterfly Tattoo Healing
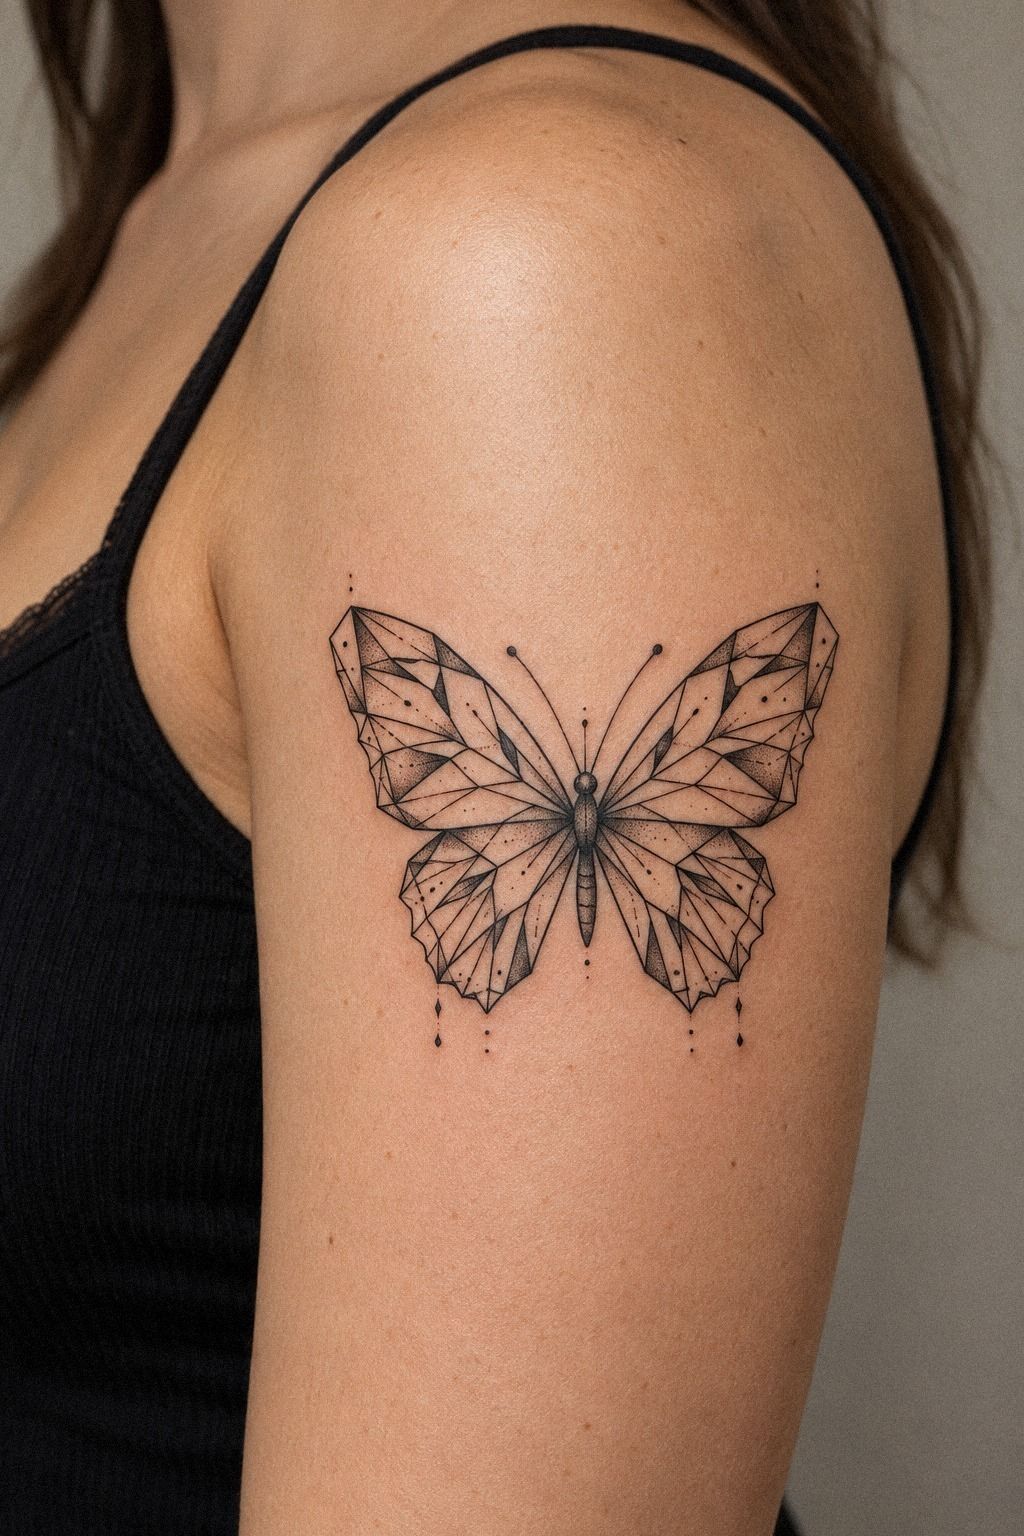
Aftercare is part of the design because healed skin determines whether your geometry stays crisp. Wash gently with a fragrance-free cleanser, pat the area dry, and follow your artist’s instructions for moisture. Don’t peel flakes or scratch the surface, even if the tattoo feels tight and uncomfortable.
The surface commonly heals in about 2 to 3 weeks. Complete healing can take roughly 2 to 3 months.
Your tattoo may look muted or uneven during that period. That doesn’t mean the artist made a mistake.
The healing timeline needs patience.
Avoid swimming and direct sun while the skin is healing. Once the tattoo is fully healed, a broad-spectrum SPF 30 product can help limit UV fading. Sun protection is part of protecting a vibrant tattoo.
Here are useful typical US reference points:
Your cost may fall outside those ranges, so ask for a quote after the artist sees the final size and placement. Follow the studio’s aftercare instructions closely. A cheaper session isn’t worth it if rushed care damages the result.
If you’re comparing small placements, review small unique butterfly tattoos and watercolor small butterfly tattoo. Protect the tattoo you planned so carefully. Your future self will thank you!
A Fast Cover Check Before You Commit
Before booking, identify the design’s outermost point. That point creates your cover boundary. Place a sleeve, neckline, or trouser leg over the area and check whether the entire butterfly disappears.
Try the test while sitting, standing, and reaching forward. A short-sleeve test can reveal a wing tip that becomes visible when your arm moves. You don’t need total secrecy every second, but you should know exactly what will show.
Think about your daily routine before you commit. Daily coverage should be simple enough that you won’t constantly adjust your clothing or posture. The best placement gives you privacy without making the tattoo feel hidden from you.
How to Talk to Your Tattoo Artist
Bring a clear reference sketch, even if it’s rough. Show the shapes you love and circle the parts you don’t want. Tell your artist that coverability, line spacing, and healed clarity matter more than squeezing in every detail.
Ask to see an artist portfolio with healed geometric work. Fresh tattoos can look sharp because the skin is still swollen. Healed work tells you more about spacing, line softness, and long-term contrast.
The Stencil Test
Stencil approval should be calm and deliberate. Ask for stencil approval after you’ve seen the design from several angles. You can request a small change before the needle begins.
Don’t hold your body stiffly for the reference. Check your body position while relaxed. The tattoo should still look balanced when your shoulder drops, your leg bends, or your torso turns.
Fine Lines vs. Heavy Fill
Fine-line work can feel delicate, sleek, and ethereal. It also needs enough spacing to remain readable. Ask whether fine-line work suits the placement, especially if the skin gets frequent sun or friction.
Heavy fill creates a bolder, more masculine, or more edgy result. It may also offer stronger contrast for cover-up work. Use blackwork with intention, not as a quick fix for a crowded design.
Build a Budget Before the Appointment
A small tattoo still has a cost. Many studios use a shop minimum even when the design takes little time. Ask about deposits, touch-ups, and payment rules before you book.
The final value depends on the artist’s skill, placement, complexity, and healed result. A slightly higher tattoo quote may be worth it if the artist has strong geometric work and clear hygiene standards. Your budget should include aftercare supplies too.
When Should You Simplify?
Simplify when the design needs too many tiny marks to explain its idea. A strong design hierarchy lets the body and wing outline carry the tattoo. Details should add meaning, not rescue a weak silhouette.
You can always add complexity later, but removing crowded lines is harder. I’d protect lasting clarity over novelty. A simple, striking butterfly may still feel personal years from now.
The Cover-Safe Geometry Rule I Actually Trust
I used to think coverability depended mostly on choosing a hidden body part. It doesn’t. Your better protection is a readable silhouette, sensible line weight, and enough untouched skin around the important shapes.
I’ve seen a collarbone butterfly disappear beneath ordinary clothing more easily than a crowded thigh design because the collarbone piece had a clear boundary.
My strongest opinion is simple: choose structure before style. You can make a geometric butterfly edgy, romantic, feminine, masculine, or wildly expressive after the foundation works.
If the foundation is weak, every extra detail makes future cover-up planning more complicated. That’s why I’d rather remove an ornate border than enlarge a design just to fit it.
I also learned not to approve a stencil while standing stiffly in front of a mirror. Your body moves. Shoulders roll, calves flex, and collarbones shift as you breathe.
Look at the stencil in at least two natural positions, and ask your artist what the lines may look like after the skin settles. That pause is worth it!
The tattoo doesn’t need to hide forever to be easy to cover. You may want it visible one day and private the next, so plan for both versions.
A striking butterfly with crisp negative space gives you that choice. And if your first sketch feels too busy, trust that reaction.
Your eye is probably asking for a cleaner design.
What People Always Want to Know
How much does a geometric unique butterfly tattoo usually cost?
A small geometric butterfly usually costs about $100 to $300 in the US. A shop minimum may be about $50 to $100.
Hourly rates may run about $100 to $250. Your artist, region, placement, and detail level will change the final cost.
Ask for a price after the size and stencil are settled. You’ll get a more useful budget estimate than a generic online number, especially if your design includes dense blackwork or several intricate wing segments.
Are geometric unique butterfly tattoos a good idea for a first tattoo?
Yes, they can be a strong first tattoo. A small, clear design gives you manageable placement and straightforward aftercare. Clean geometry can also remain readable without requiring a large surface area.
Choose your artist carefully and start somewhere more tolerable, such as the upper arm, thigh, or shoulder. If you’re nervous, a minimal design with a meaningful center shape may feel less overwhelming than a large ornate piece. That can make the experience feel more empowering.
How do I choose a tattoo artist for geometric unique butterfly tattoos?
Choose an artist with a portfolio showing healed linework, not only fresh tattoos. Your artist should demonstrate clean symmetry, confident angles, and consistent spacing across different body placements.
Ask about studio hygiene, stencil approval, and how the artist adjusts a design for movement. You don’t need the most famous artist.
You need someone whose healed work matches the crisp, delicate result you want. That skill is worth the price.
How much do geometric unique butterfly tattoos hurt?
Pain varies by person and placement. Ribs, feet, hands, and sternum are commonly more sensitive than the forearm, thigh, or shoulder. Placement comfort can affect how calmly you hold still during fine geometric work.
Your artist can explain what to expect for the chosen area. I’d avoid selecting a painful location only because it looks stylish. A slightly more tolerable placement may give you a cleaner session and an easier first experience.
How long does a geometric unique butterfly tattoo take to heal?
The surface usually takes about 2 to 3 weeks to heal. Complete healing can take about 2 to 3 months. Gentle aftercare means washing as directed, moisturizing appropriately, avoiding swimming during healing, and protecting the tattoo from sun once healed.
Don’t judge the final clarity too soon. Your tattoo may look dry, cloudy, or uneven during the early stage. Follow your artist’s instructions and contact the studio if something seems unusually painful or irritated.
What’s the best placement for geometric unique butterfly tattoos?
The upper arm, shoulder, and thigh are strong choices because they’re generally more tolerable and easier to cover. Flexible placement also gives your artist room to preserve line spacing and adjust the butterfly to your body’s movement.
The collarbone can look elegant and visible, but it offers less privacy with many necklines. Hands and feet may be harder on delicate details because of friction and sun. Choose the placement that fits your daily life, not only the reference design.
Where I’d Start First
If I had to pick one step, I’d start with the small symmetrical sketch. It exposes weak angles before they reach your skin. It also keeps every later decision, from placement to line weight, easier to cover.
Save that version, show your artist, and let the stencil prove the design. Start there!