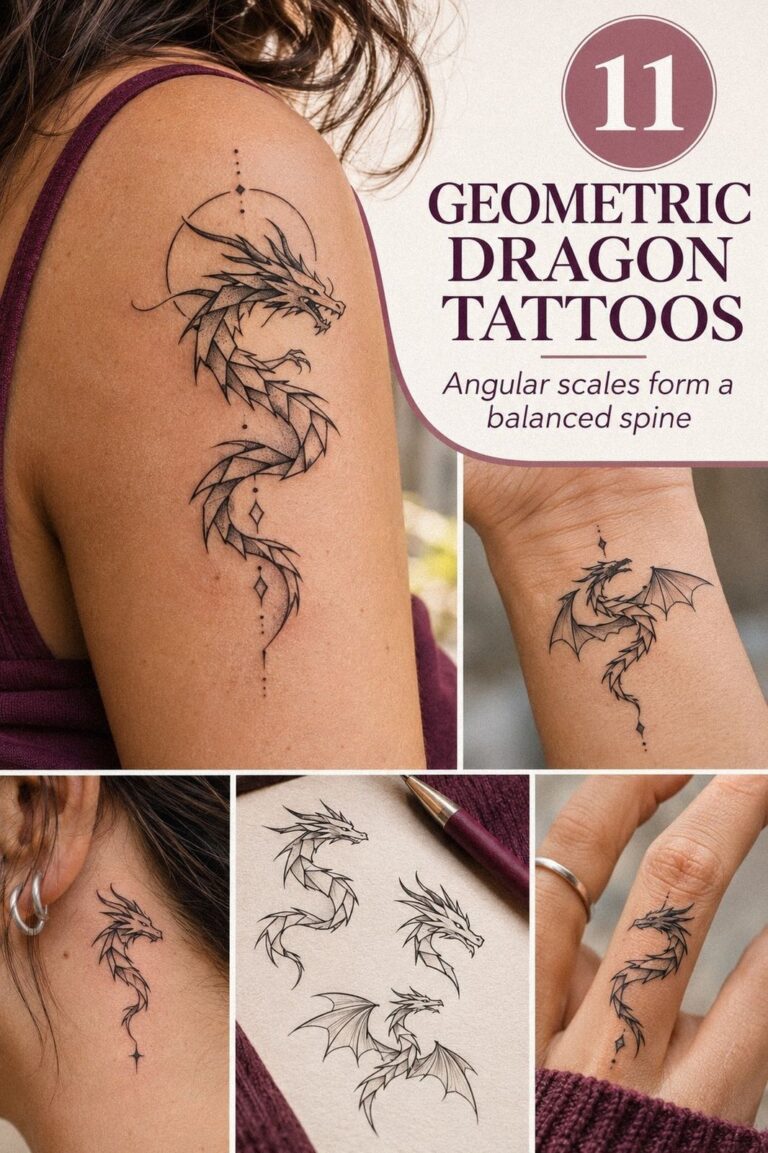
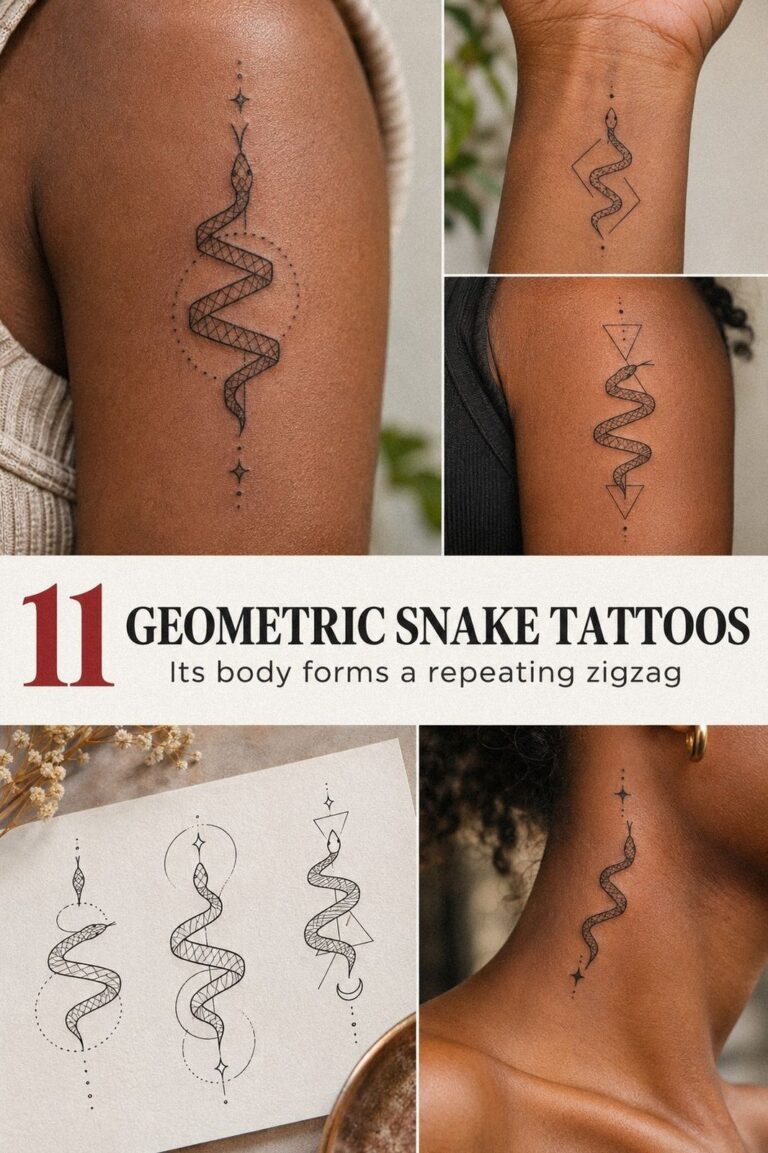
Unique fine line butterfly tattoo work can cost about $100 to $300 in the US, depending on size, placement, artist, and region. I wanted one that felt personal, crisp, and delicate without disappearing into my skin. So I planned the design, tested several placements, and priced the appointment before booking. It was worth the patience!
The final result needed to feel crisp, but never generic. I wanted a tattoo that looked sleek from a distance and revealed more meaning through its details.
Here’s what it looked like before: The Blank-Skin Baseline
Before I booked, I had only a patch of blank skin I’d been saving for the right idea. I didn’t want copied flash or a butterfly that looked identical to every other one online. My starting point was simple: one black tattoo stencil, open wings, fine contours, and enough negative space for the shape to breathe.
I kept returning to unique fine line butterfly tattoo ideas because the subject felt personal without becoming overly literal. The butterfly could look symbolic, feminine, or quietly fierce depending on the wings. I knew I’d need an artist who understood restraint, since too many tiny details could blur together as the tattoo aged.
The references helped me compare scale and placement. A fine line butterfly tattoo stencil gave me a better sense of proportion than a finished tattoo did. You can admire a design online, but you won’t know how it behaves on your own skin until you test the outline.
The Design Test I Used Before Booking
I tested the stencil at different sizes and angles before making a decision. The smallest version looked dainty, but the antennae nearly disappeared. The larger version felt more bold and readable, although it lost some of the minimal quality I wanted.
My favorite version sat between those extremes. It had enough negative space to keep the wings clean, while the center remained narrow and controlled. If you’re comparing options, this fine line butterfly tattoo stencil can help you judge the outline before committing to a quote.
I also asked myself whether the design would still feel meaningful after the trend faded. That question mattered more than whether it looked impressive in a saved post. A fine-line tattoo needs a strong silhouette first, then carefully chosen detail.
- Why I Chose a Minimal Fine-Line Butterfly
- The Asymmetrical Wing Decision
- Where Should a Small Butterfly Sit?
- Behind the Ear: My Daring Alternative
- Edit the Delicate Details
- What Did the Butterfly Mean to Me?
- Test the Composition on Real Skin
- Fine Line Without Shading: The Contrast
- Check Every Contour Before Booking
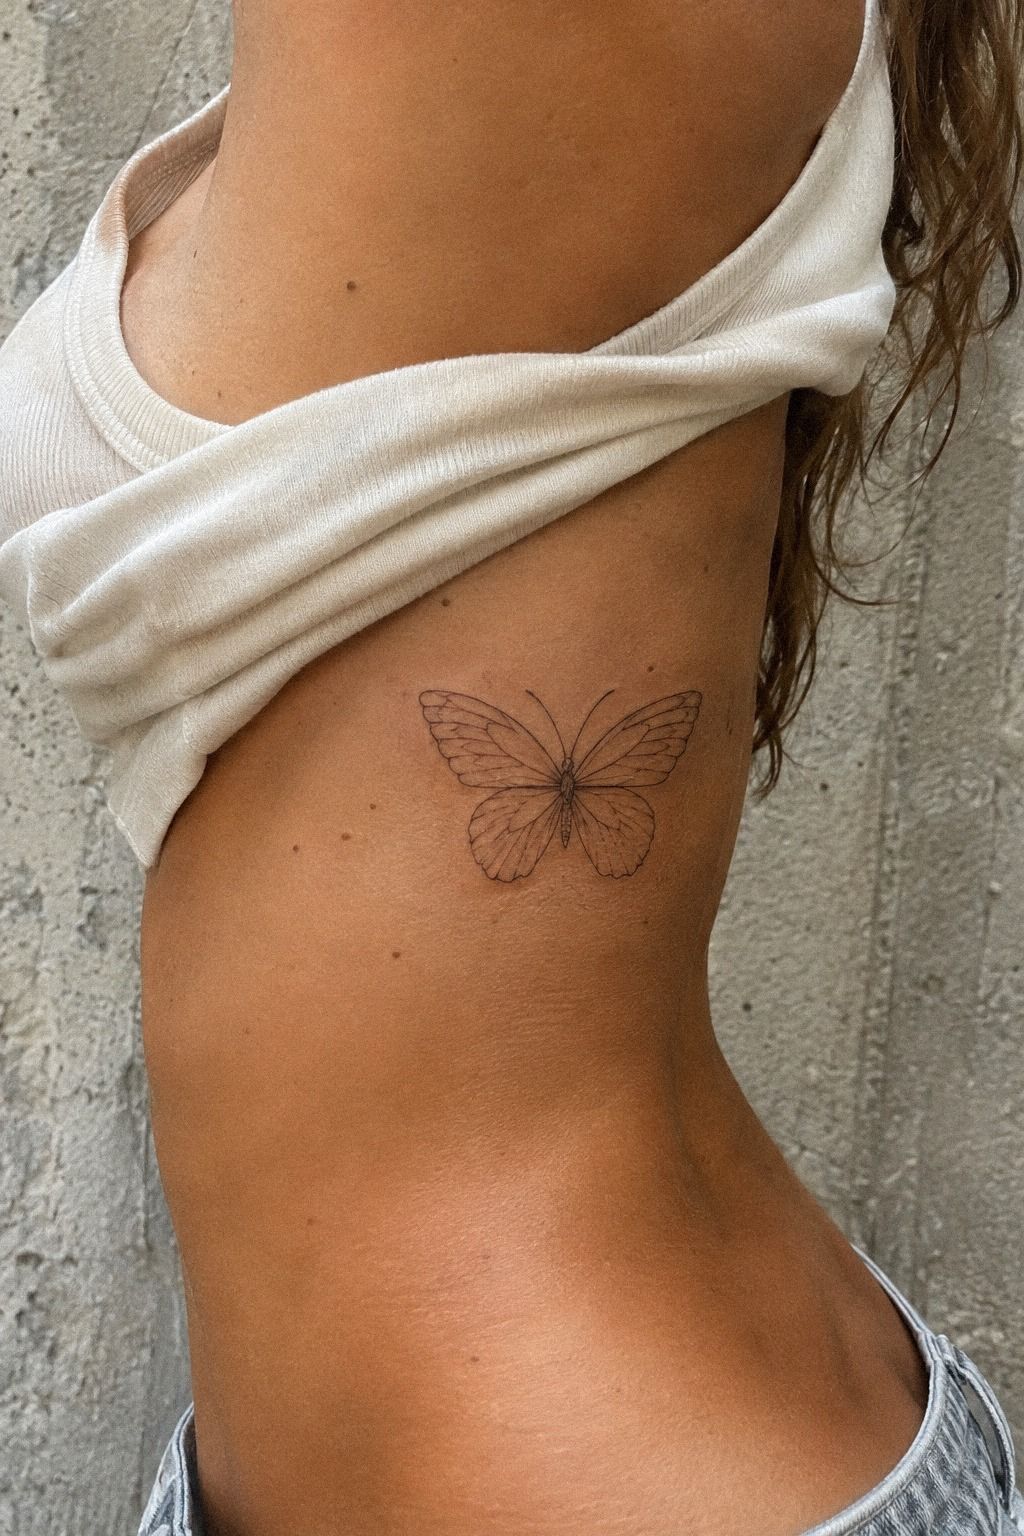
- Ribs or Calf? The Placement Trade-Off
- Protect the Tattoo While It Heals
1Why I Chose a Minimal Fine-Line Butterfly
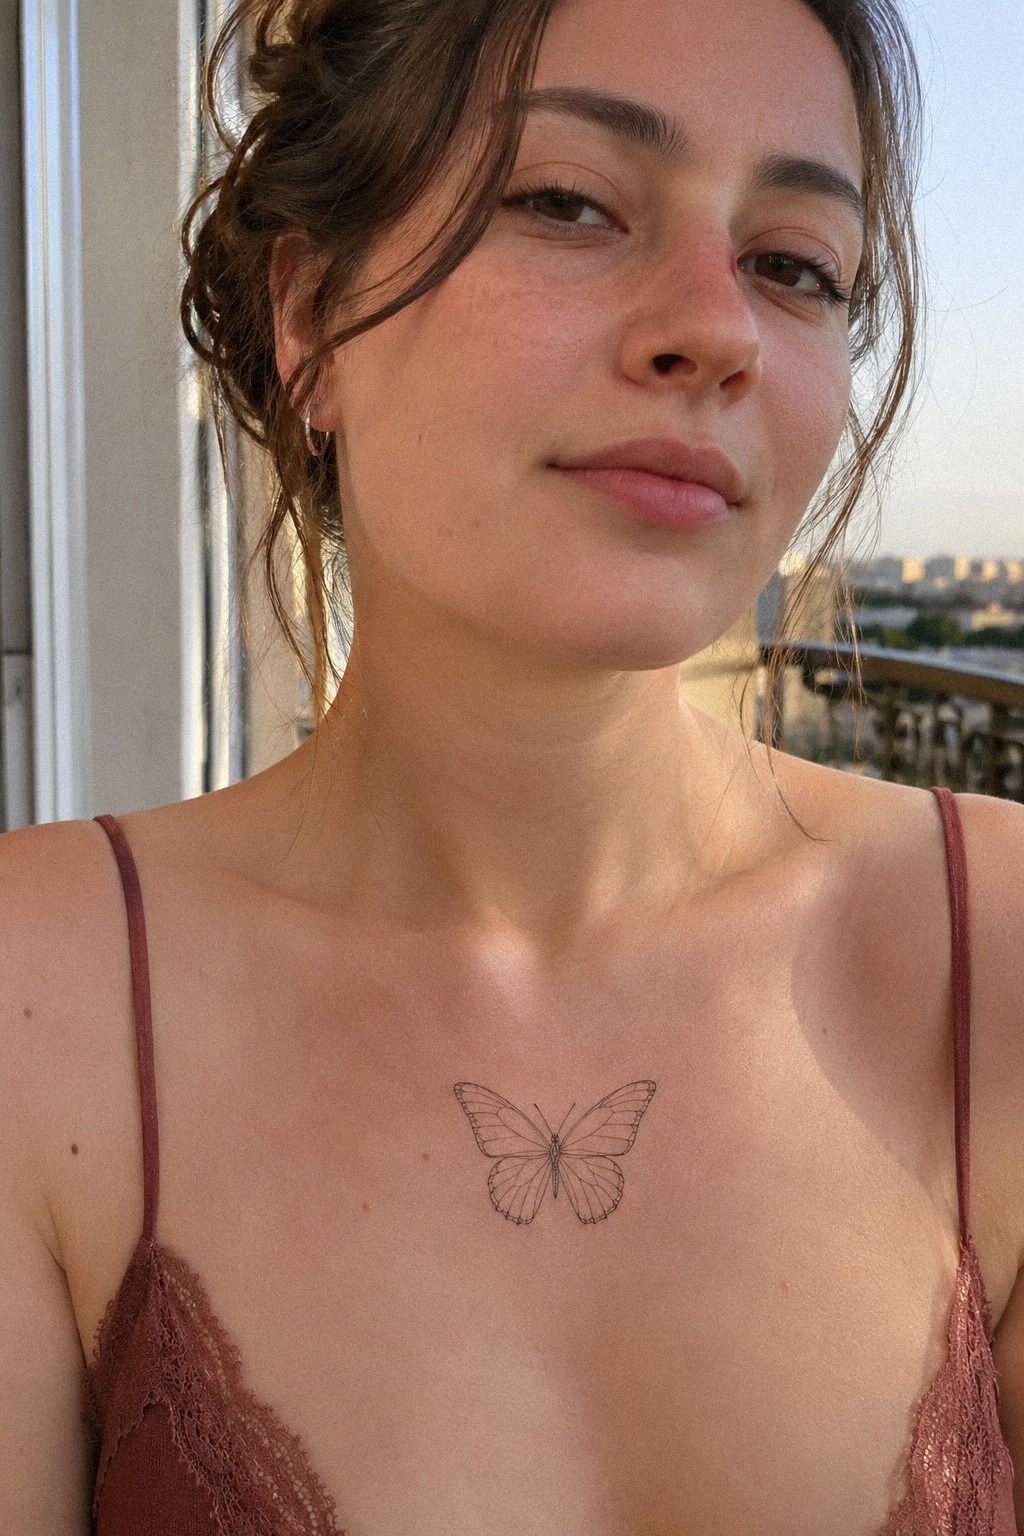
I chose a minimal butterfly with open wings because the shape still read clearly from a distance. The center body stayed narrow, while each wing carried only a few 3RL needle lines. I didn’t want dense fill or heavy blackwork.
My opinion was firm: a simpler design would age more gracefully than an intricate miniature packed with decoration.
The first sketch felt too symmetrical, almost generic. I asked for a slightly longer lower wing and a tiny break in the upper contour, which made the design more personal. If you’re comparing a minimalist fine line butterfly tattoo, notice how much the empty skin contributes to the final image.
I also considered a tiny version, but I didn’t want the body and antennae to collapse into one dark mark. A small unique fine line butterfly tattoo can be charming, but your artist still needs enough room for each line. That balance made the final sketch feel understated and quietly powerful.
The moment it clicked was surprisingly emotional. I saw the butterfly as an expressive reminder of change, not a decorative symbol I’d forget about. And because the design stayed sleek, I could imagine wearing it with any style without needing to explain it.
2The Asymmetrical Wing Decision

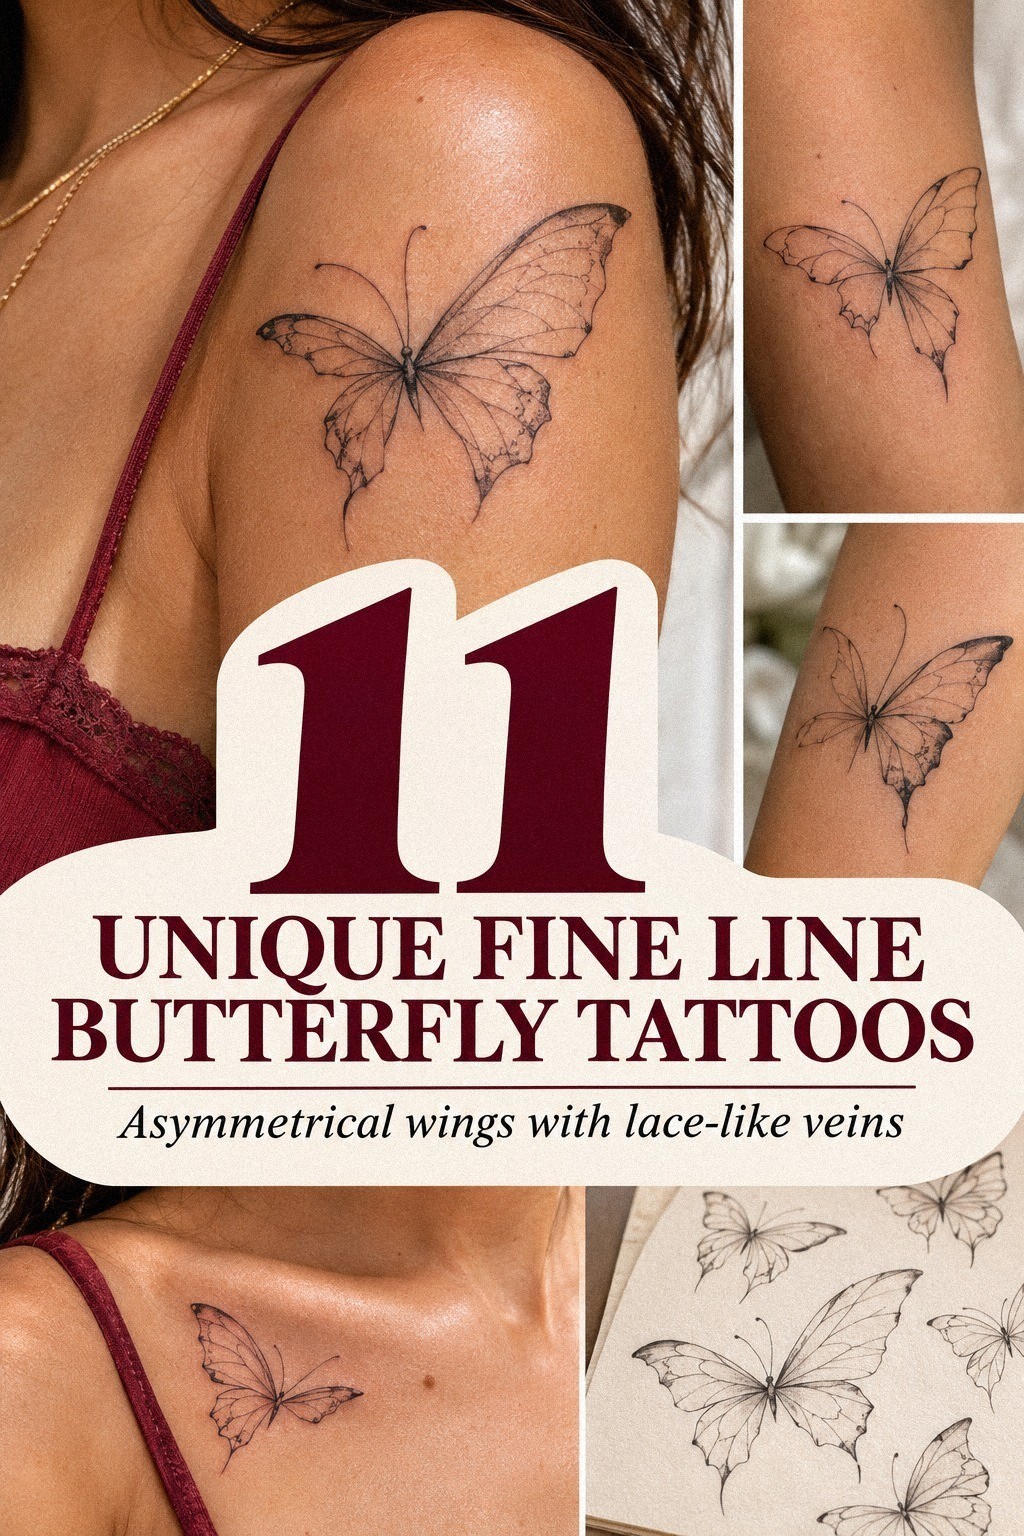
The asymmetrical wings were the detail that made the tattoo feel distinctive.
I asked for one wing to sit slightly higher than the other, with an uneven contour that still felt intentional. The difference was subtle, but it stopped the butterfly from looking like a copied icon. That small adjustment gave the design a more edgy, personal character without making it chaotic.
I didn’t want exaggerated distortion or heavy shading. The open linework stayed clean, while the uneven wings created movement. Sometimes one controlled irregularity says more than a page of extra detail.
That was the right call!
3Where Should a Small Butterfly Sit?

I tested the wrist placement because I wanted the tattoo to stay visible to me, not just to other people. The design was small, with a black tattoo ink outline and open skin inside the wings. I kept the lower edge away from the wrist crease, since constant movement could make the placement harder to read.
A small unique fine line butterfly tattoo works well on the wrist when the silhouette is sharp. Still, you should think about how often your hands see sunlight, soap, and friction. I wore the stencil for an afternoon and noticed that the position looked more balanced when it sat slightly to the side instead of directly over the joint.
The wrist felt more exposed than I expected. I liked that visibility, but I didn’t want the tattoo to dominate every gesture.
My choice was a quiet and understated placement rather than a central mark. If you want more coverage, compare it with this small fine line butterfly tattoo guide before choosing your final scale.
The emotional trigger came when I caught the stencil while reaching for my phone. It looked like a small private signal, even though anyone could see it. That contrast felt meaningful.
You get a personal tattoo, but you don’t have to make the message loud.
4Behind the Ear: My Daring Alternative
Behind the ear was my more daring option.
I liked the idea because the placement felt discreet when my hair was down and visible when I wanted it to be. The butterfly needed to stay especially simple there. Too many tiny lines could compete with the curve behind the ear, so I kept the wings open and the center restrained.
The placement also changed the mood of the design. On the wrist, the butterfly felt conversational.
Behind the ear, it felt more mysterious and private. I ultimately chose the calf, but the alternative helped me understand what I wanted from the final tattoo.
My Placement Shortlist
I narrowed the choices to the wrist, calf, forearm, and behind the ear. A small fine line butterfly tattoo can work in several locations, but each one changes how the lines move with the body.
The calf placement gave me the clearest silhouette. The wrist felt more visible, the forearm looked more graphic, and behind the ear felt more private. I kept checking the stencil while walking, sitting, and reaching, because a design can look different when the skin moves.
I also compared fine line butterfly tattoo arm examples before ruling out the forearm. That placement was elegant and easy to see, but I wanted the tattoo to feel slightly less obvious in everyday life.
5Edit the Delicate Details
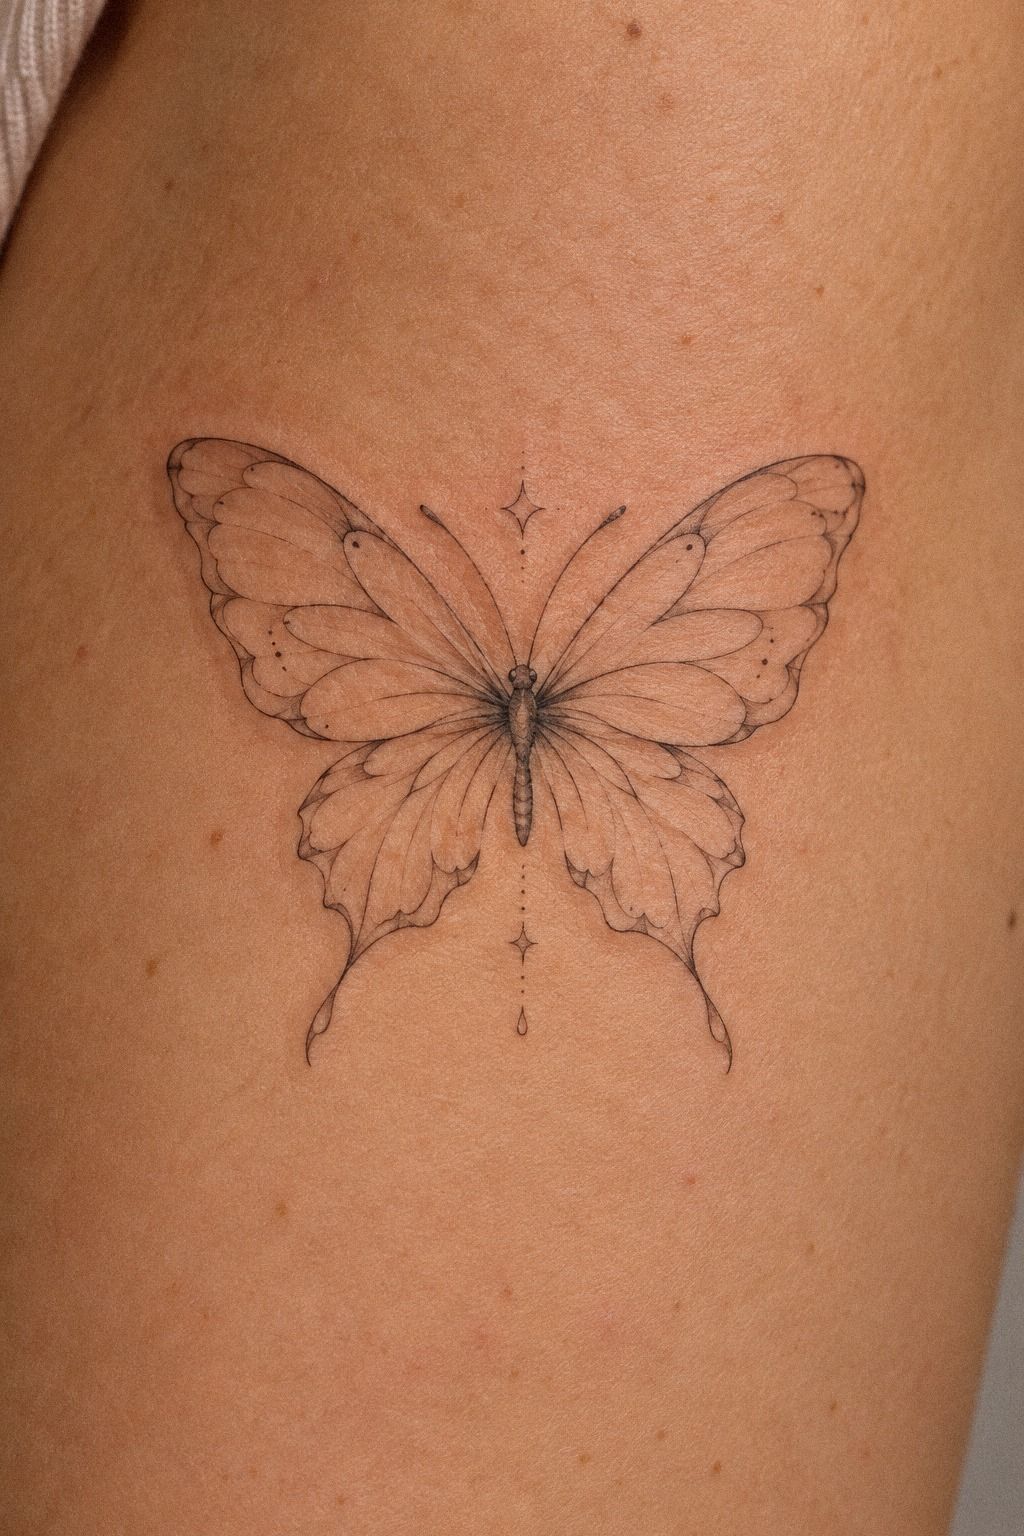
I edited the wing details down to a few delicate wing veins, two short arcs, and a clean central body. The flash sheet included several archival tattoo drawings on off-white paper, but I didn’t want to copy every mark.
More detail didn’t make the butterfly more meaningful. It only made the design busier.
I asked the artist to keep the antennae slightly longer than the first draft. That tiny change made the silhouette more elegant and recognizable.
If you’re browsing unique fine line butterfly tattoo ideas, zoom out from your screen occasionally. A line that looks exquisite at 400 percent may vanish when the tattoo is viewed from a normal distance.
The paper sketches also helped me compare styles without getting distracted by skin tone or lighting. You can see how an ornate wing behaves beside a minimal one, then decide which version still feels like you. I preferred the understated option because it left room for the skin to remain part of the image.
I nearly added a small star beside the butterfly. Then I removed it! The design became more timeless, and the butterfly had enough visual weight on its own.
That edit was harder than adding something, but it made the final piece feel polished.
6What Did the Butterfly Mean to Me?
I connected the butterfly to a specific personal transition in my life instead of assigning it a generic meaning. It marked the point when I stopped waiting for everything to feel certain before making a decision. That made the tattoo personal, symbolic, and quietly empowering.
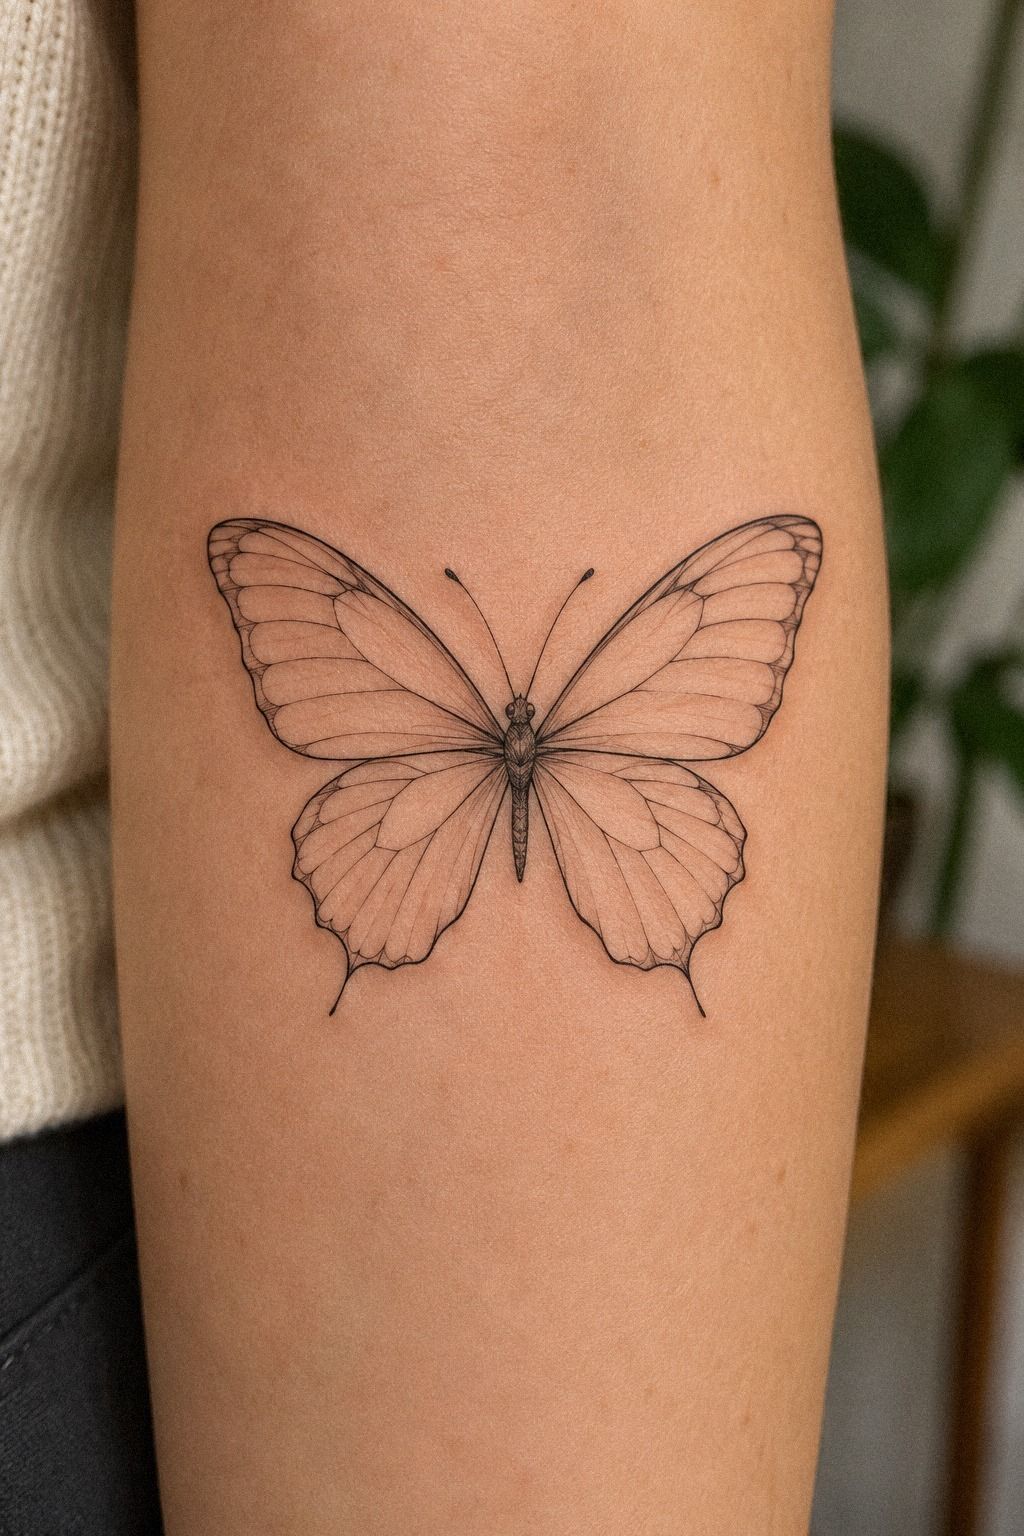
The forearm placement in my reference gave the design enough space to show its solid black linework without crowding the skin. I tested the butterfly lengthwise first, then rotated it slightly so the wings followed the arm. Your placement should support the meaning, but it also needs to respect how your body moves.
I considered adding initials, a date, or a tiny word. I didn’t.
Those additions would have made the tattoo more literal, and I wanted the image to keep some mystery. If you prefer a design with more visual structure, a watercolor fine line butterfly tattoo may give you a more vibrant direction without requiring text.
The final meaning stayed open enough to evolve. That matters because your life will keep changing after the appointment.
A personal tattoo shouldn’t trap you in one old story. Mine feels sacred because it remembers a turning point without spelling it out.
7Test the Composition on Real Skin
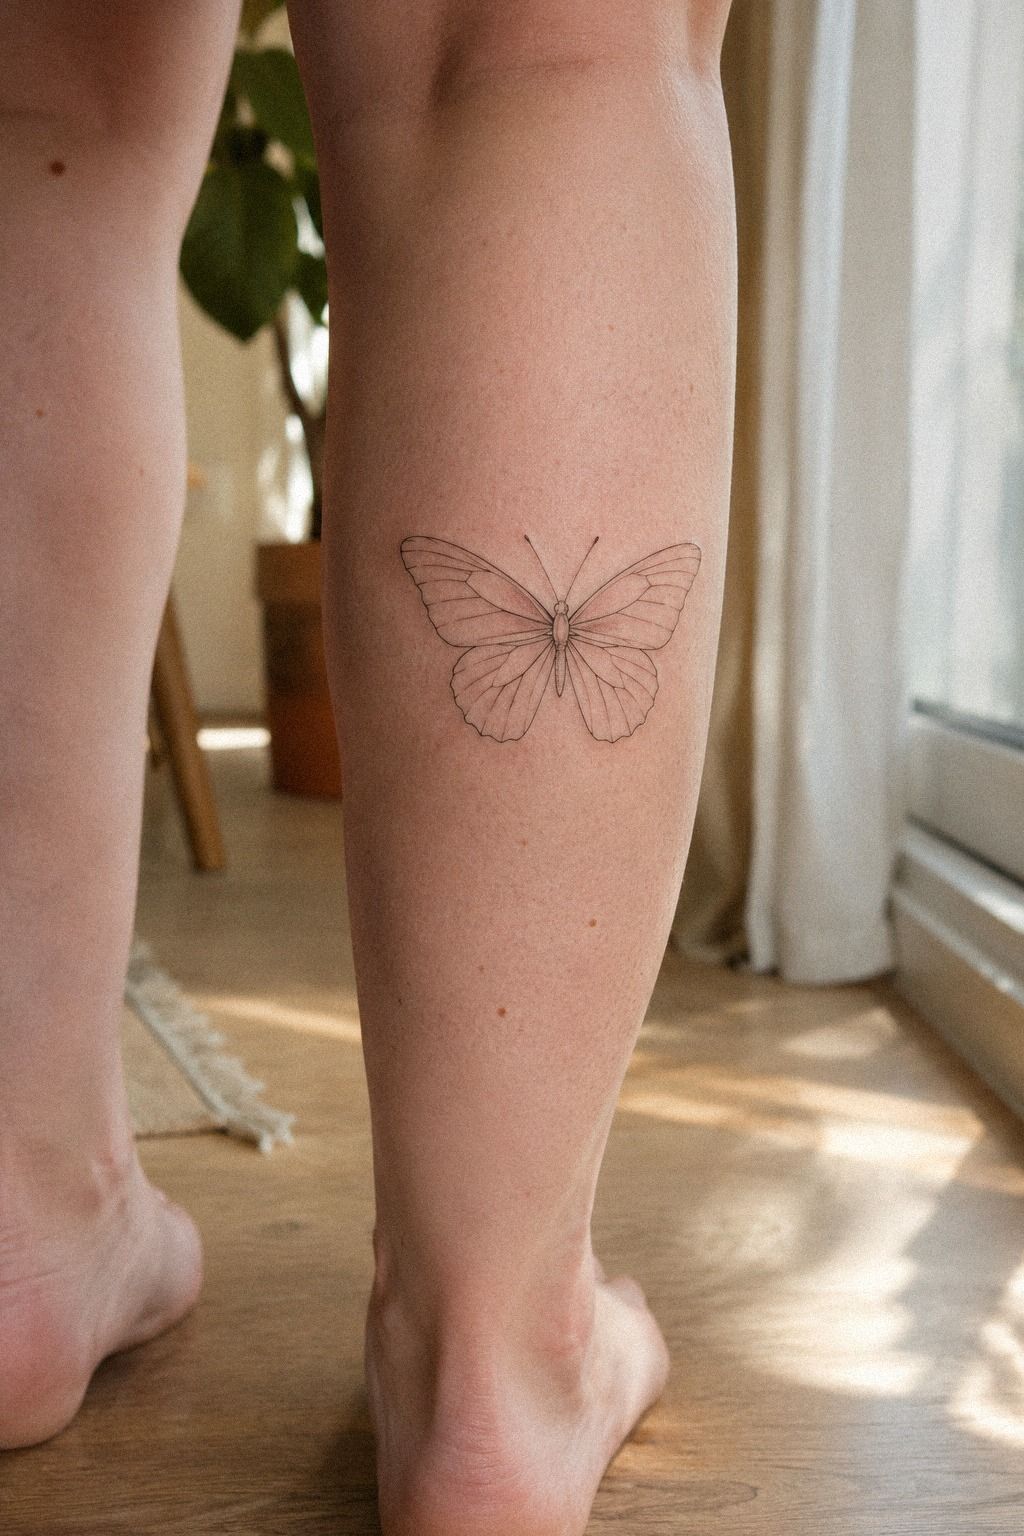
I tested the butterfly on my calf, forearm, shoulder, and ribs with a skin-safe transfer. I checked the stencil while moving for an hour before deciding. The calf looked graceful, while the ribs felt more intimate, but I wanted a placement I could see without twisting.
The stencil test also showed me where the wings looked compressed. On curved skin, a perfectly flat drawing can become visually uneven. You should ask your artist to redraw the design for your body anatomy instead of pressing a fixed image onto every location.
I compared the layout with examples of fine line butterfly tattoo arm work, then ruled out an overly horizontal composition. My opinion was clear: the butterfly needed a little vertical movement. A wide, flat silhouette looked less expressive and made the body seem too heavy.
I kept one stencil on overnight. That was enough to expose the practical issue I’d missed: my clothing rubbed the ribs every time I moved.
The calf won because it gave the design space, visibility, and fewer daily interruptions. Sometimes the best placement is the one your routine can support.
8Fine Line Without Shading: The Contrast
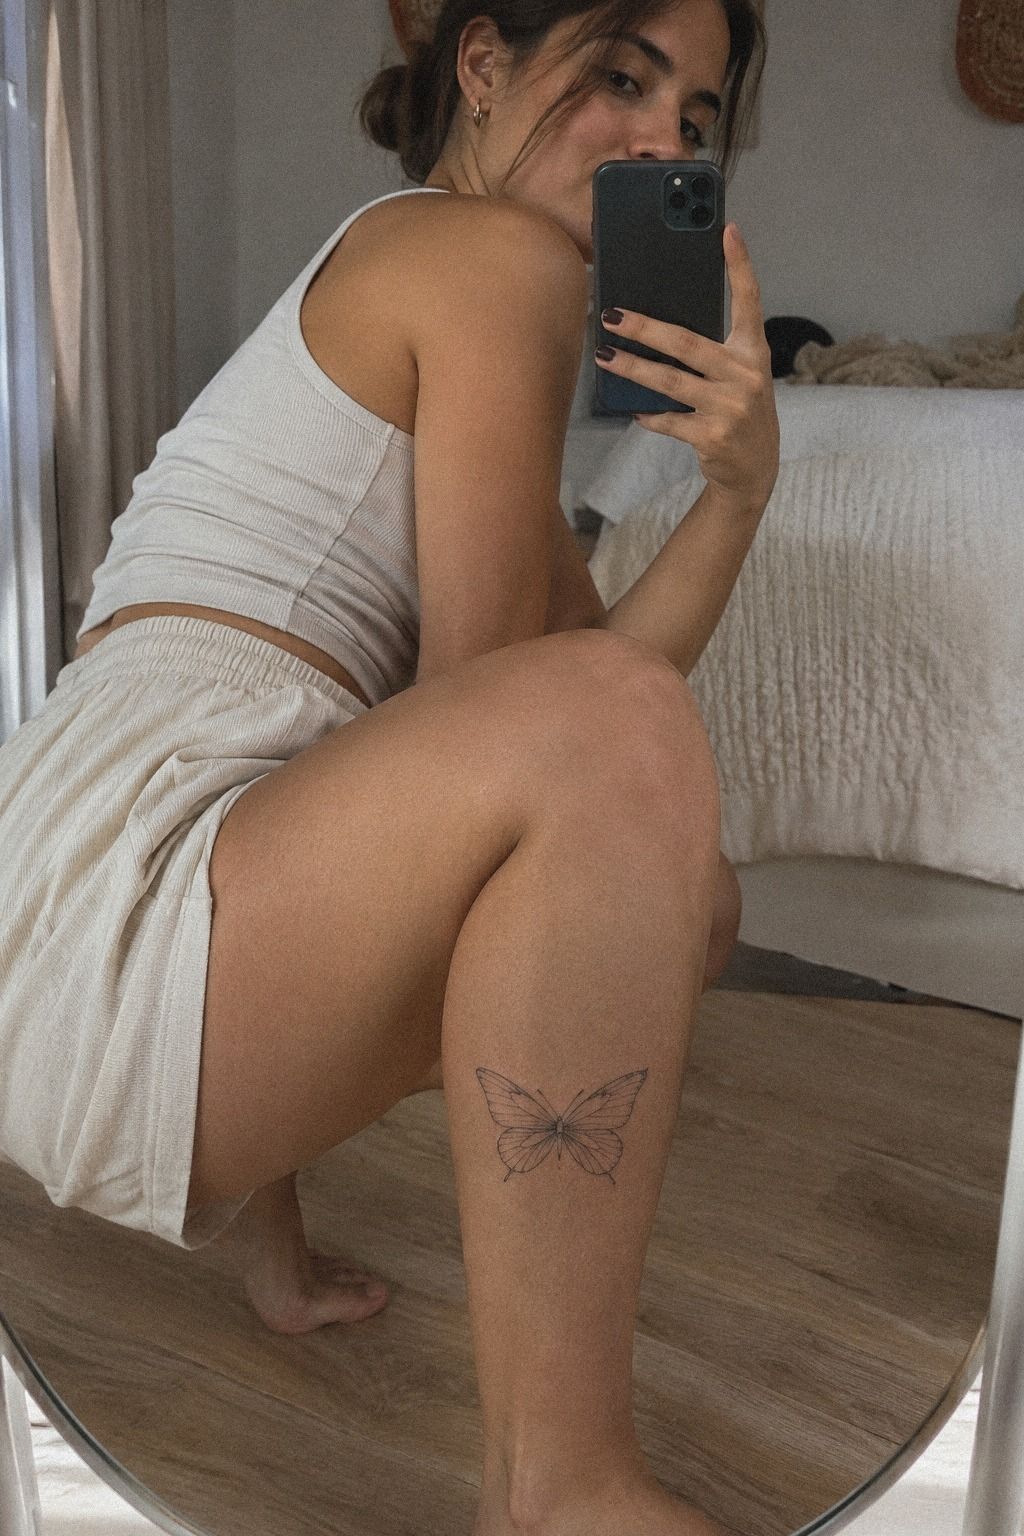
I chose flowing linework without shading because the open wings already had enough movement. The single-needle black ink created a crisp outline, while untouched skin supplied the brightness inside each section. I didn’t want gray wash competing with the delicate structure.
This was my most opinionated choice. I’d skip soft shading on a very small butterfly unless your artist has strong healed examples.
Shading can look lovely on the day, but it may soften the separation between tiny wing panels over time. You want the design to remain readable, not merely impressive in a fresh result.
The calf reference showed how a clean outline can look bold even without heavy fill. If you prefer stronger contrast, compare it with a classic fine line butterfly tattoo and look for healed examples, not only appointment-day results.
I asked for smooth curves rather than perfectly repeated lines. That gave the tattoo a flowing, human quality. The result was minimal but not empty, and it felt more classic than the trend-heavy version I’d first saved.
9Check Every Contour Before Booking

Before the appointment, I checked every contour line under bright light and from arm’s length.
I looked for gaps, uneven curves, and places where the antennae might merge with the wings. The design was small, so every line had a job.
I also asked whether the thinnest marks would remain readable after healing. My artist adjusted two curves, and I felt much more confident afterward.
That final review made the tattoo feel precise rather than rushed. It also reminded me that a beautiful concept still needs practical editing before it reaches skin.
10Ribs or Calf? The Placement Trade-Off

I expected the ribs and sternum to feel sharper because those areas sit close to bone. The forearm, shoulder, and thigh are usually more tolerable, while feet, hands, ribs, and sternum can feel more intense. I chose the calf because I wanted a manageable pain level.
The stencil beside the healed result helped me think beyond the appointment. A healed tattoo may look softer than the fresh version, and that change is normal. You should plan for the finished result, not only the dramatic first-day appearance.
I asked about session length and learned that a small butterfly may take less than an hour, depending on setup, placement, and the artist’s pace. I didn’t rush the appointment. A calm artist with clean technique matters more than finishing quickly.
Would I choose the ribs now? Probably not for this design.
The location looked romantic and intimate, but the pain and clothing friction didn’t justify it for me. The calf felt fierce and empowering because I could stay relaxed and still get a striking result.
11Protect the Tattoo While It Heals

After the appointment, I followed the artist’s instructions closely. I washed the tattoo gently, patted it dry, and used a thin layer of the recommended fragrance-free aftercare lotion. I avoided soaking it, direct sun, and swimming while the surface healed.
The surface healing usually settles in about two to three weeks, while complete healing can take roughly two to three months. You’ll want patience during that longer period because the tattoo may look dull or slightly uneven before it settles.
I also treated broad-spectrum sunscreen as part of protecting the design long term. Ultraviolet exposure can affect fine lines, and very delicate work may spread or soften with time. Solid black lines and sensible placement tend to age better, but no tattoo stays frozen forever.
The itchy stage tested me. I didn’t scratch, pick, or cover it with tight fabric, even when the skin felt annoying.
And when the butterfly finally looked settled, the clean lines felt worth every cautious day. No regrets!
The healed version was softer, but still crisp, personal, and unmistakably mine.
The Fine-Line Longevity Rule: What I’d Choose Again
I used to think the smallest tattoo would automatically be the most stylish. Now I think the better question is whether the design has enough space to survive real skin, real movement, and real time.
Fine line can be refined, but it isn’t magic. Tiny details need breathing room, and your artist needs a plan for how those marks may settle.
My first mistake was judging references only by the same-day result. Those examples showed sharp, vibrant black lines, but they didn’t tell me how the tattoo would look after washing, sleeping, clothing friction, and ordinary daylight.
Once I started looking for healed work, my choices became calmer. I stopped chasing the most intricate sketch and chose the most legible one.
I also changed my mind about placement. The ribs looked dramatic, and the area felt intimate, but I didn’t want pain or friction to become part of the story every time I saw the tattoo.
The calf gave me a clear silhouette and enough skin around the wings. That negative space became part of the design, not unused area.
If you’re choosing between a bold butterfly and a delicate one, decide what you want to notice first. I wanted the shape before the detail. A crisp outer wing, a controlled center, and a few expressive lines gave me more staying power than extra decoration would have.
That’s why I’d choose a minimal, personal design again, even if a busier flash sheet catches my eye first.
What Makes Fine-Line Work Worth the Price?
I learned that the cheapest quote isn’t automatically the best design value. Fine-line work depends on control, spacing, hygiene, and the artist’s ability to adapt a stencil to your anatomy. Those details can matter more than saving a small amount upfront.
A healed portfolio is more useful than a dramatic appointment result. I’d rather pay a fair cost for careful work than choose a low budget option and spend more later correcting a muddy silhouette.
The design also needs to be worth it emotionally. If the butterfly feels personal, readable, and meaningful, a careful appointment can offer better long-term value than a larger but less considered piece.
How much it cost: The Honest Ink Budget
I planned for a typical US range of about $100 to $300 for a small fine line butterfly tattoo. A studio may have a minimum around $50 to $100, while hourly rates often fall near $100 to $250. Your artist, region, placement, and design time can shift the total cost.
My own budget range was $200, with room for a higher quote if the consultation required extra drawing time. I’d rather know the range before booking than feel pressured in the chair. You can compare your options with unique fine line butterfly tattoo examples, but don’t choose an artist only because the first quote is low.
The cheapest option isn’t always the wisest one for tiny linework. A clean portfolio, healed examples, and strong hygiene matter more than saving a small amount. I also asked whether the consultation and stencil adjustments were included, since those details can affect the final appointment.
My Booking Checklist
Before booking, I reviewed the artist’s healed portfolio, asked about the minimum, and confirmed what the quoted price included. I also checked whether design revisions were part of the consultation.
I brought a few references, including the fine line butterfly tattoo style I liked, but I didn’t expect an exact copy. The best result came from combining the clean silhouette I wanted with the artist’s judgment.
I also asked for a stencil revision after seeing the first placement. That small adjustment made the wings follow my calf more naturally and helped the final tattoo feel distinctive rather than mass-produced.
A Few Things Worth Answering
How much does a unique fine line butterfly tattoo usually cost?
In the US, a small piece often falls around $100 to $300, with shop minimums near $50 to $100 and hourly rates around $100 to $250. Your artist, region, placement, and detail level can change the quote, so ask for a range before booking.
Are unique fine line butterfly tattoos a good idea for a first tattoo?
Yes, especially when your design has clear spacing and a readable silhouette. A forearm, shoulder, calf, or thigh may feel more tolerable than ribs, sternum, hands, or feet. Choose an artist with healed fine line examples and a style that feels personal to you.
How do I choose a tattoo artist for unique fine line butterfly tattoos?
Review a portfolio for clean healed linework, consistent contours, and examples made under clear conditions. Look for an artist who regularly creates fine line pieces, follows strong hygiene practices, and redraws the stencil for your anatomy instead of relying on one fixed template. This fine line butterfly tattoo stencil can also help you discuss proportions clearly.
How much do unique fine line butterfly tattoos hurt?
Pain varies by person, but ribs, feet, hands, and sternum are often more intense because they sit near bone or have less padding. The forearm, calf, thigh, and shoulder are usually more tolerable. A shorter session can also make the experience feel easier.
How long does a unique fine line butterfly tattoo take to heal?
The surface usually heals in about two to three weeks, while complete healing can take roughly two to three months. Wash gently, moisturize as directed, avoid swimming and direct sun during healing, and don’t scratch or pick at peeling skin.
What’s the best placement for a unique fine line butterfly tattoo?
The calf, forearm, shoulder, and thigh offer good visibility and practical space for clean wings. The wrist is more visible but faces frequent washing and sun, while ribs and sternum feel more intimate but can be more painful. Compare this small fine line butterfly tattoo guide, then choose the placement your routine can protect.
Where I’d Start First
If I had to pick one, I’d start with the calf placement. It gave the butterfly enough skin around the wings to stay readable, without the friction and intensity of the ribs. Pin the idea for later, then test the stencil before you book.
For a second opinion on scale, I’d also compare unique fine line butterfly tattoo examples with healed work. My final choice felt classic, polished, and personal enough to keep wearing for years.